
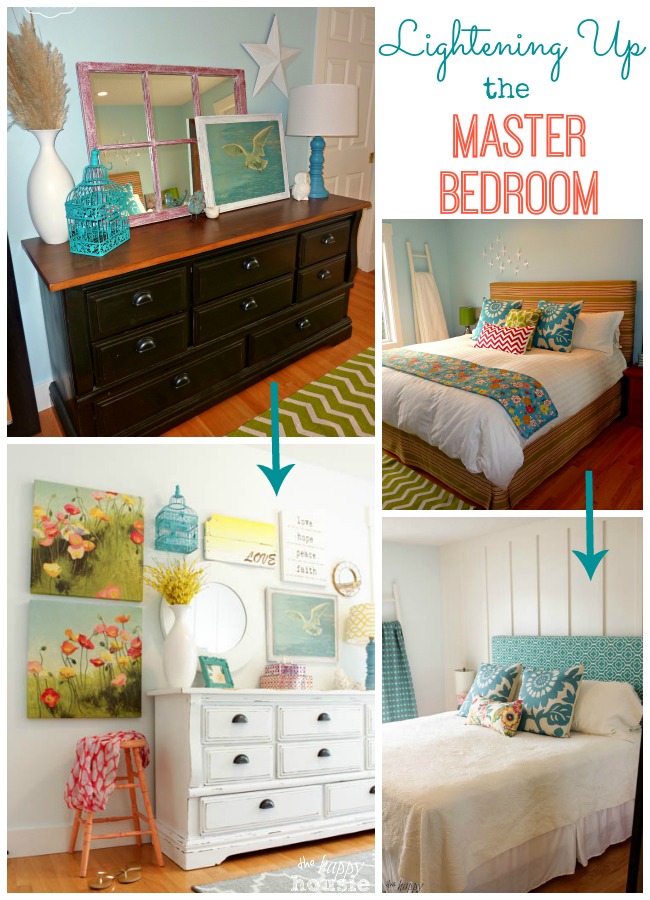
Lightening Up the Master Bedroom with Paint {& How to Paint Like a Pro}
Nothing changes a room quite like a fresh coat of paint….and I am super excited that I finally got around to finishing up the changes in our Master Bedroom by freshening up the walls and trim work with a fabulous new paint job. I can’t wait to share my process including some awesome tips for how to paint like a pro!
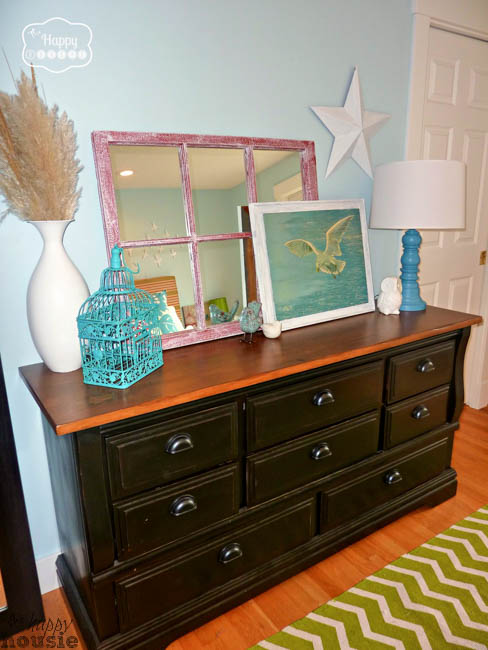
You may have noticed that changes to our Master Bedroom have been going on for a long time now. Did you ever see the original space?? If not, here is the “before” of how this room started.

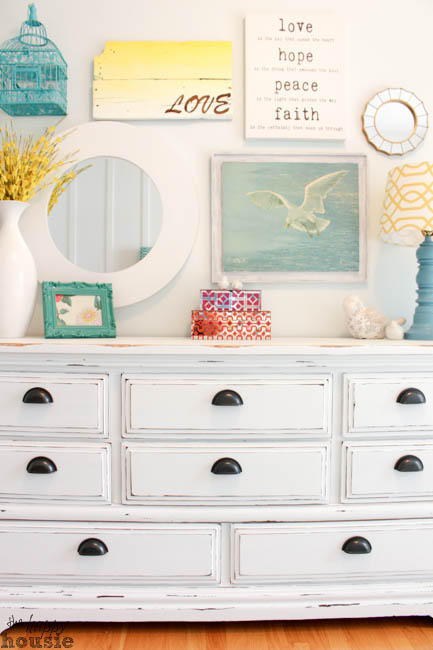
And the dresser wall…
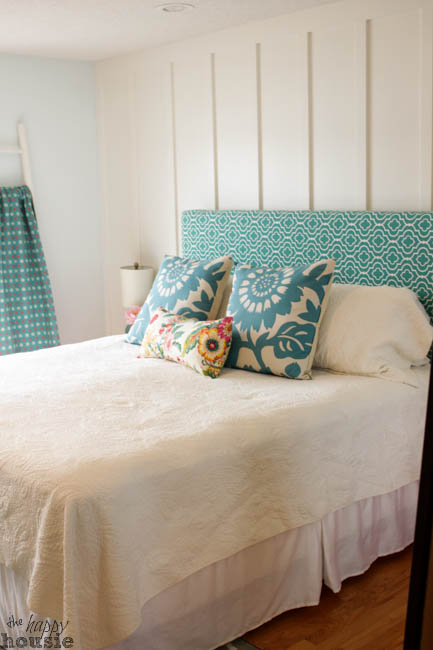
Our bedroom was ready for a new look. The fabric headboard and bedskirt had been around for a few years, and I was definitely ready for a change. A big change. And I finished off the change this weekend with some help from a ben & me Paint Bag from my local Benjamin Moore Store.
The ben & ME bag contains everything you need to quickly and easily give your room a fresh, new look. You get two gallons of premium paint (for the walls and/or ceiling), as well as 1 quart for trim – plus all the amazing tools that you need to complete the job (like a paint tray and liner, sleeve roller, angled paint brush, drop cloth, paint can opener, and green painters tape). It even comes with an awesome playlist to keep you motivated… add a little coffee and you can tackle this project in a day (I had my room stripped, prepped, and the walls painted with two coats in one day!).

The awesome thing about the ben & ME kit is that you get $169 worth of products for only $109* – so if you plan to tackle a room renovation this fall, now is the time to act! This deal is available until October 5th, at your local Benjamin Moore store (or check the Ben & Me website to find your nearest participating dealer).
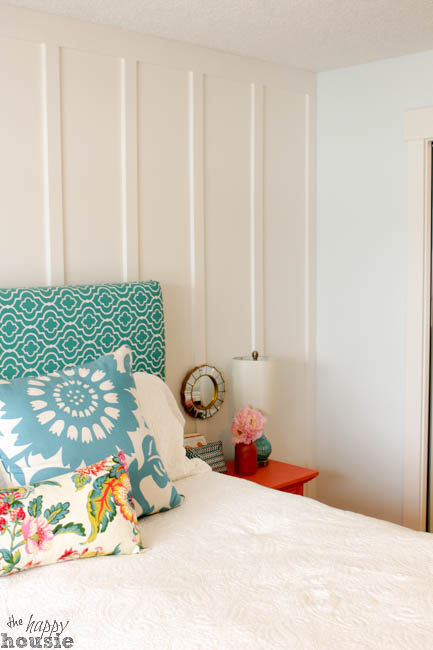
I chose Cloud White (CC-40) in eggshell for the paneled wall behind the bed, and sea foam (2123-60) for the other three walls in our space. The trim was freshened up with some more Cloud White in a semi-gloss finish. Repainting your trim makes such a big difference… I just love the look of crisp, fresh trim work.
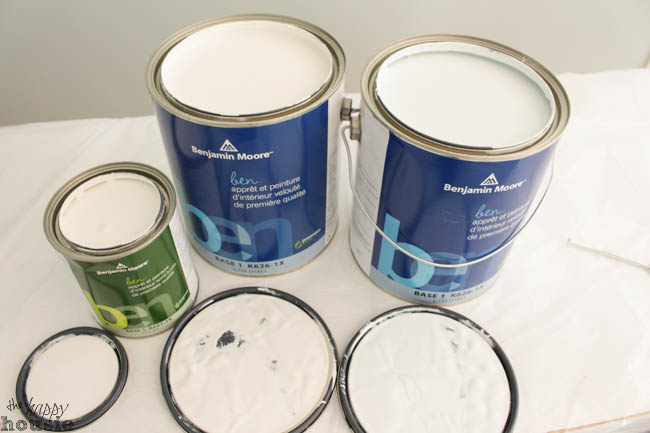
The ben & ME kit even includes a cute little booklet full of awesome painting tips for making your job easier and more fun. I read through it all before starting a utilized a few new tips for painting that I hadn’t known of before.
![]()
BE PREPARED!
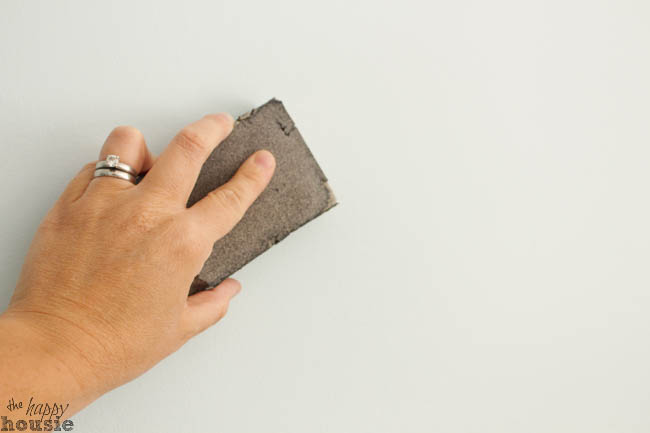
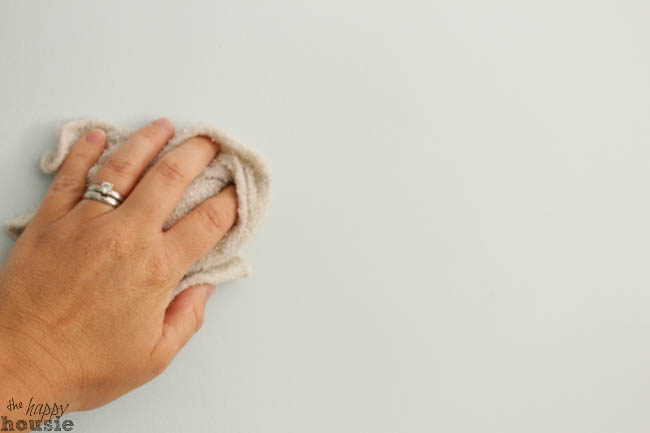
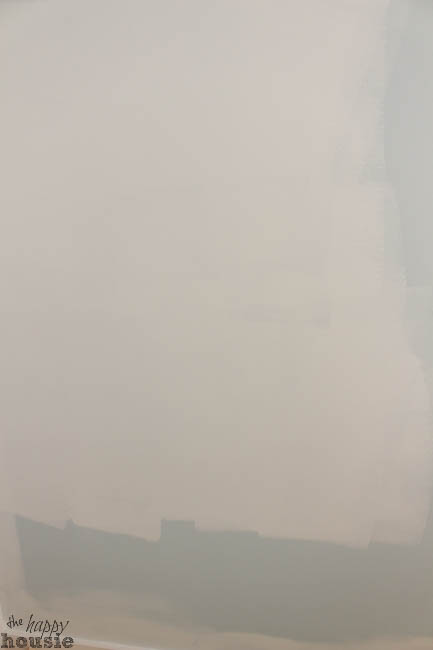
Start out by prepping your walls. After I took down the pictures, I patched the walls with drywall filler. Once dry, I sanded them smooth and wiped the walls off with a clean rag.
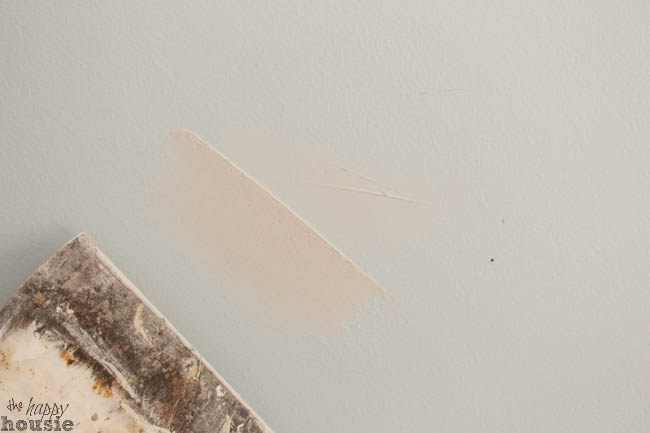
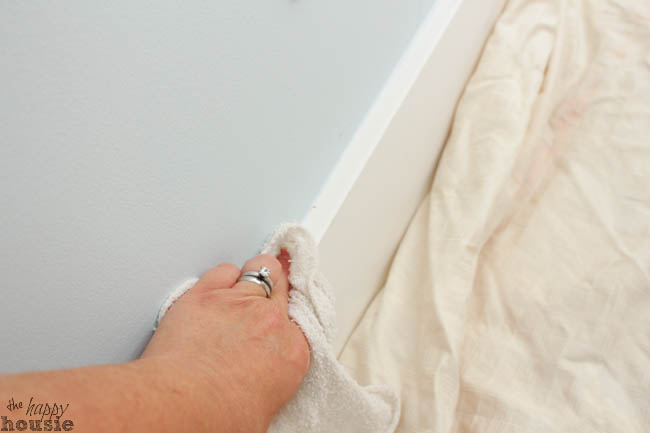
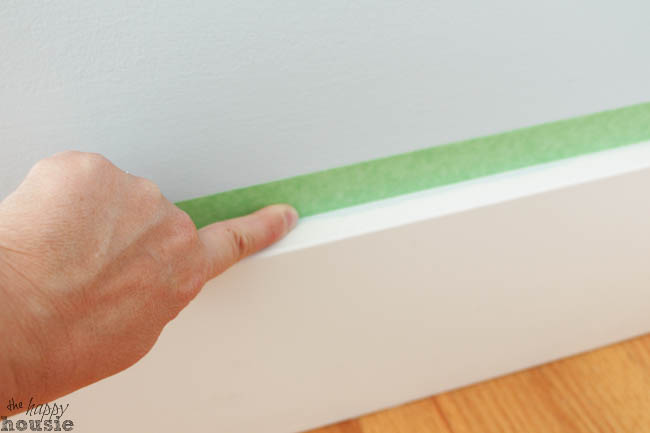
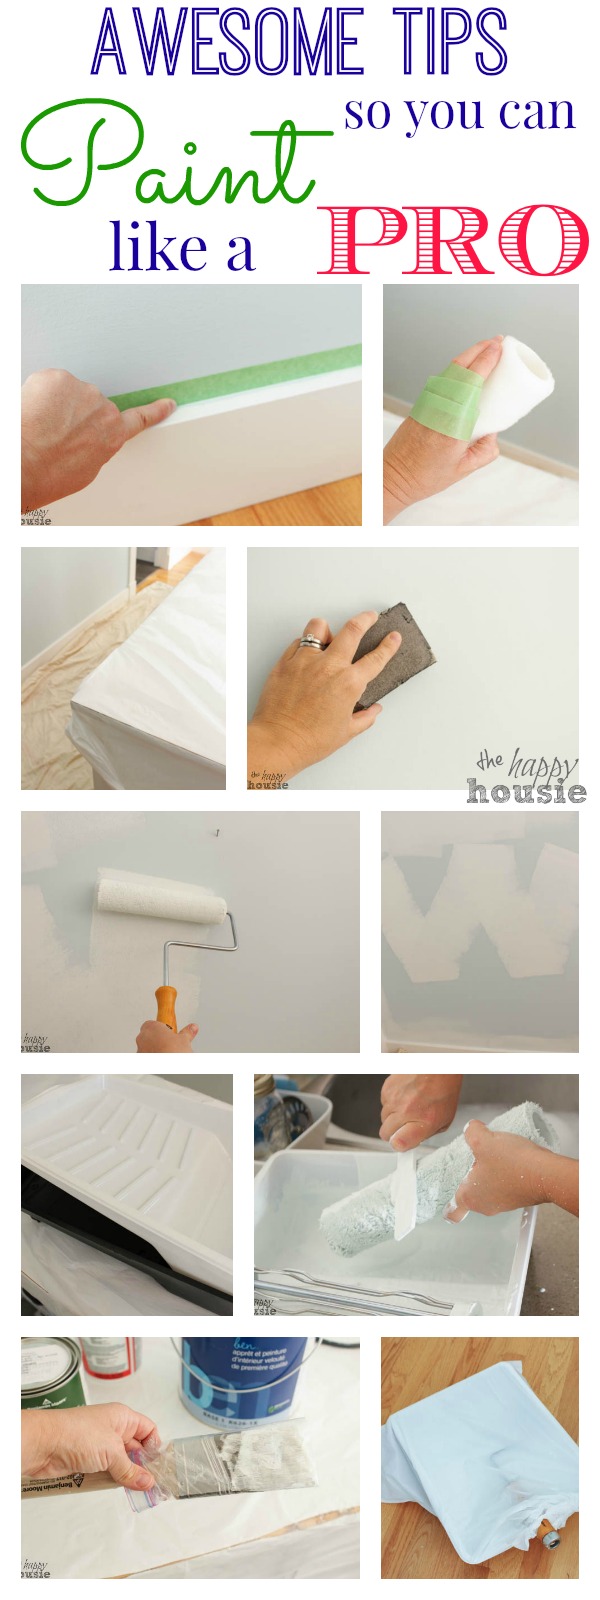
I also made sure to wipe down the baseboards before prepping to paint them by lining the walls with my green painters tape. To make sure that the paint doesn’t seep underneath the painters tape, just rub your finger quickly and firmly along the edge to make sure that it has created a seal to the wall.
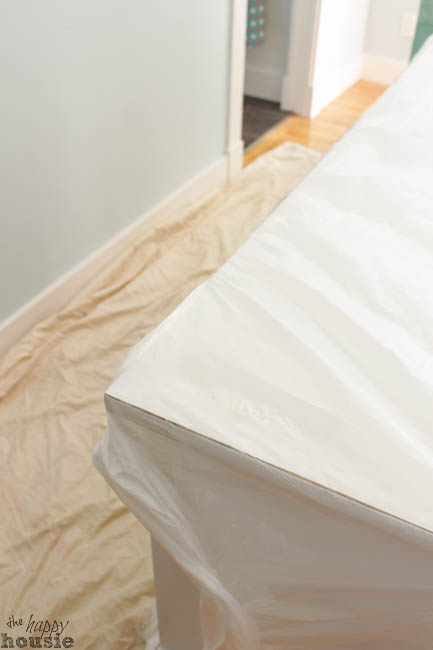
I covered the furniture with the plastic drop sheet provided in the ben & ME bag…and used a drop cloth I had on hand for covering the floor. I moved it along the wall as I painted each area of the room.
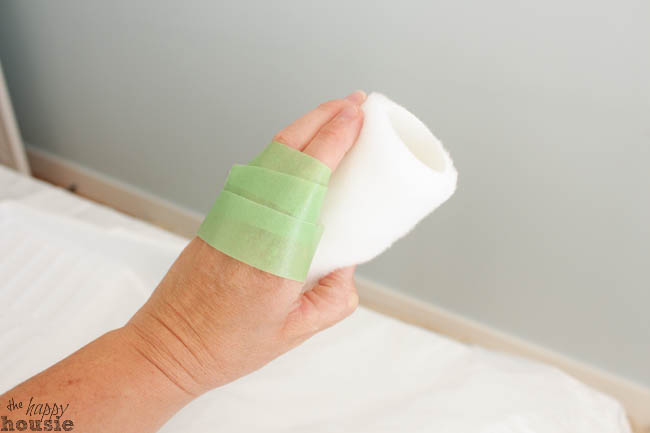
Few things are as annoying as chunks of lint in your brand new fresh paint job. Prep your new roller sleeve for painting by using some painters tape (or a lint roller) to remove any bits of lint from it before painting with it.
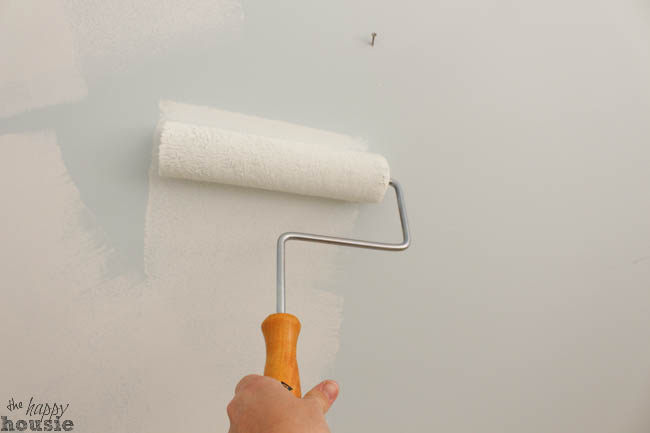
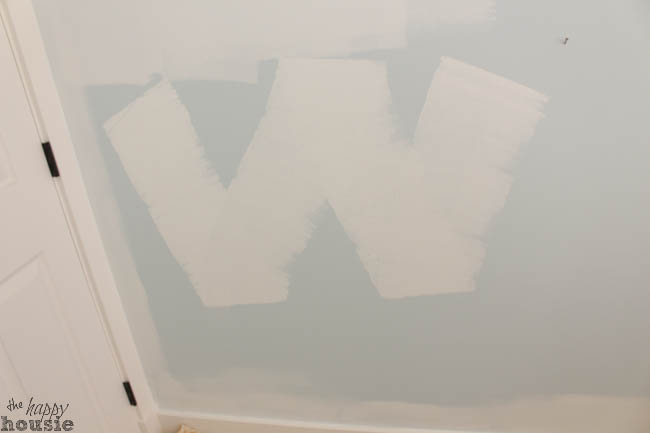
GET MAX COVERAGE
And to get the best coverage, I always paint in a W formation. Starting with a full roller, paint a W in the center and then, keeping your roller on the wall, fill in the W formation with strokes of paint… going back and forth in this manner will eliminate ridges of paint that can dry on your walls and ruin the look of your new paint job.
BE LAZY! – SAVE ON THE CLEANUP!
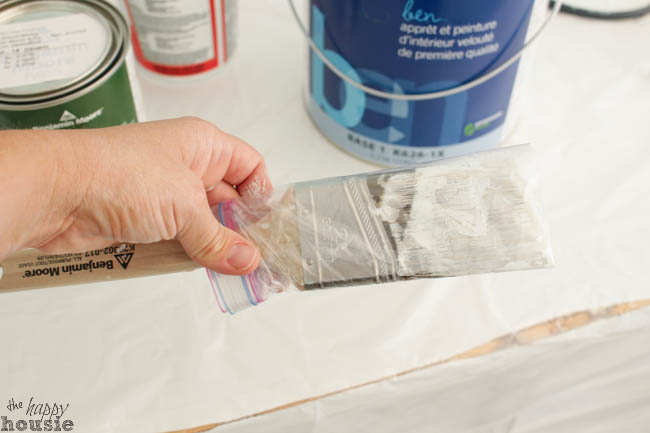
I love painting. But I can’t stand clean-up. To save tons of clean up time, just wrap your brushes and trays between coats and then keep them in the fridge. I love this tip – it is a rare day around here that I don’t have a plastic wrapped paintbrush in our fridge. They can last for weeks this way (if you procrastinate your paint job that long…).
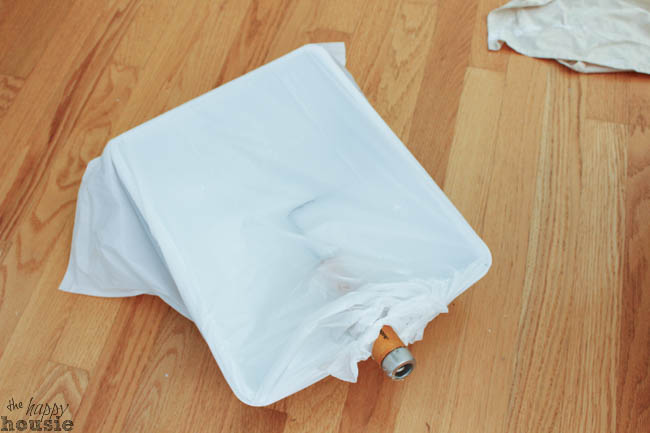
To keep the roller and tray wet between coats (and to avoid having to wash it) I just wrapped the whole thing in a garbage bag and placed it in the fridge!
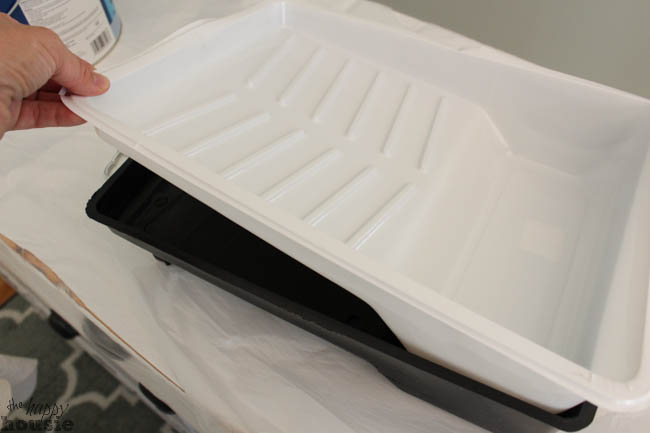
Use a tray liner to cut down the cleanup of your tray…
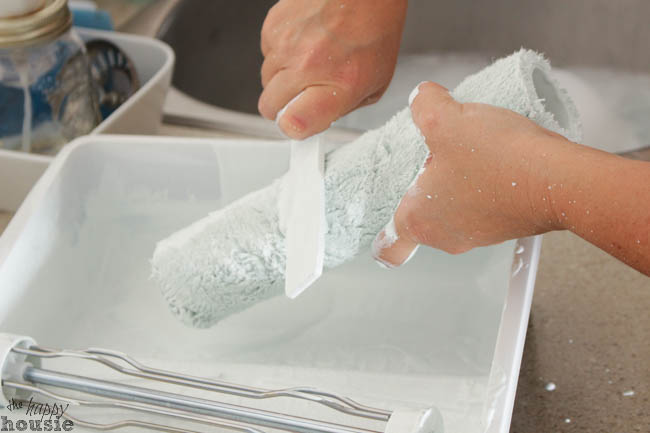
And you know those paint stir sticks that you get when you buy paint?? Did you ever notice how one end has a slight curve in it?? Well, did you know that you can use that curve to help you clean your roller at the end of the job? Just press it down along the length of the roller and squeeze the excess paint back into the tray or can. Then soak the roller sleeve in warm soapy water and use the same curved end to rinse the remaining paint out of it.
Want to remember these tips? Pin it!
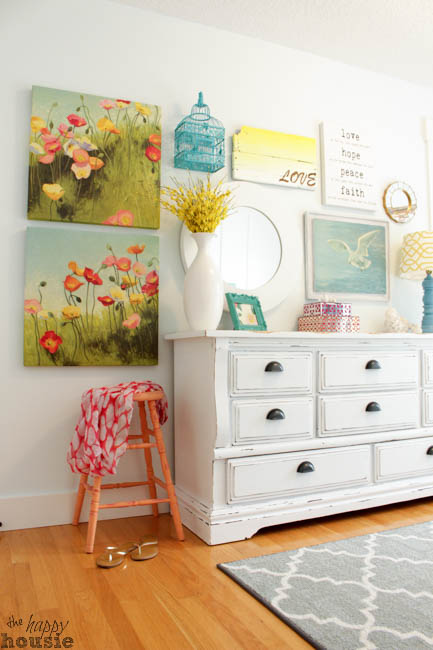
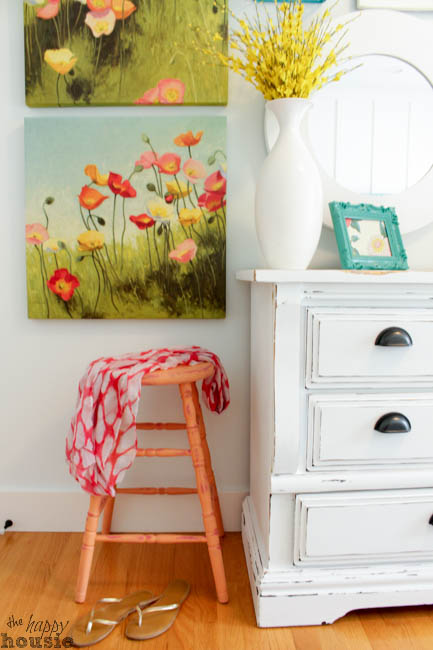
The ben & ME bag definitely helped me make short work of repainting our Master Bedroom. All the tools I needed were right there… a good angled brush for cutting in and a high quality roller sleeve gave me perfect coverage; and the tray liner saved me oodles of cleanup time. Plus, I love the lighter, brighter shade of sea foam on the main walls…and the paneling in Cloud White is a warm and fresh contrast with the pale blue-green-grey shade.
What do you think??
To complete your very own DIY Room Transformation with paint…head to your local Benjamin & Moore Retailer to pick up your own ben & ME bag. And…sheblogs Canada is hosting a fun Twitter party on September 18th at 7-8pm EST. RSVP now to attend and for your chance to win a ton of awesome prizes!
Thanks for reading. And remember my housie friends, HOME isn’t built in a day. Enjoy the journey!

Although this post has been generously sponsored by Benjamin Moore, the opinions and language are all my own, and in no way do they reflect Benjamin Moore.
* With a qualifying purchase of two cans of 3.79 l ben® interior flat K625, eggshell K626 or semi-gloss K627 and one can of 946 ml ben® interior semi-gloss K627 for $109.00 suggested retail price, receive a FREE ben® & Me tote and painting kit at participating dealers. Limit one (1) per customer. While supplies last. No substitutions. Qualifying purchases must be made in single transaction. Actual price will be determined by dealer at checkout. Offer cannot be combined with other offers, discounts or promotions, or applied toward prior purchases. Offer valid August 25, 2014 – October 5, 2014. See your local participating dealer for details. Void where prohibited.


I may link up at some of these fabulous places below, for more info check out housie parties:
Monday Funday , Give Me the Goods Monday , Inspiration Monday, Nifty Thrifty Tuesday, Tip Junkie, Project Inspire{d} , Inspire Me Tuesday, The Scoop, Hit Me With Your Best Shot, Wow Me Wednesday, Whimsy Wednesday , From Dream to Reality, The Inspiration Exchange, Wow Us Wednesday, Live Laugh Rowe Live Laugh Linky, Thursdays Are Your Days, Inspire Me Please, Catch as Catch Can, Fabulously Creative Friday, Party Junk, Pinworthy Projects , Link Party Palooza,, Weekend Bloggy Reading, Strut Your Stuff Saturday, Spotlight Saturday, Get Schooled Saturday, Overflowing With Creativity , , Suburbs Mama , That DIY Party


Great post! I love your flower artwork (canvases?) and I’m wondering where you got them? I’m putting the finishing touches on my baby girl’s wildflower themed nursery and I’d love to find a piece of artwork like yours to help compete the look!
Hello Tara – those prints are by an artist named Shirley Novak. She has quite a few prints with a similar style so just google that name and you should find something!
These are some awesome tips. Thanks for posting!!! I have bedroom , masterbath, and hall that have to do this weekend. And this is exactly what I need to hear. If u have any quick tips on covering hole in the wall and I mean larger hole please let me know and tag me. Pleasssssse!! Again , great tips. Thank you
To cover a larger hole you can buy drywall patching patches that are mesh. They are sticky and you put them over the hole and then fill with drywall filler, let it dry, then sand it, fill again, let it dry, sand it and repeat until your wall is smooth. It’s a good idea to prime first over drywall filler so that the paint has the same sheen when you repaint the wall (otherwise a patched area can look very flat and still stand out).
Washing your brush is best otherwise the brush can not be thoroughly cleaned. Paint likes to be at room temp. Side of can tell you not to let it go below a certain temp.
Hi Sherry,
Thanks for your tips! I have found that keeping my brush cold and wrapped for a short period of time, like between coats, works well and then I soak my brush in warm soapy water. If the cleanup is ever stubborn, I use a little bit of vinegar in the water and that helps. I definitely manage to get them clean and always use my brushes again and again with this method. Have a great day!
Fantastic tips. I’ve never heard of putting the brush and tray in the fridge, I’ll have to give it a try
Hi Midge! As long as you wrap up your brush and roller/tray in plastic, it will stay damp longer in the fridge (we don’t want any dry chunks of paint in our brush or roller when we go to paint again a few hours later!). I’ve done it for years- hope it works well for you!!
Absolutely stunning! The colours are so lovely and happy, and well balanced with white base. Well done!
Love the room!! The dresser looks great. I want to paint some furniture pieces, but I am apprehensive. I have never painted furniture(I know, hard to believe)
You must just love spending time in your “new” room! Looks wonderful. Love the stool & the art especially! Paint sure does amazing things for our homes! And thanks for the BM info too. Linda
Love, love, love it! So fresh and bright! Great makeover!
Great tips and a gorgeous room!! Would love for you to share it over at Link It or Lump It! http://houseologie.com/link-lump-55-features/
What a fabulous transformation. Your room is beautiful!
Awesome tips! I’m all for cutting down on the cleanup, too. The last thing you want to do after spending a day painting is have a ton of work ahead of you for cleanup.
I think AWESOME that’s what I think!!!
Thanks! I love how light-filled it feels now!!
Love the lighter paint and that dresser is beautiful!!! I used to be a darker paint kind of girl for bedrooms, but just recently painted my master bedroom and my daughter’s room a lighter color and love it. The room looks so much brighter and fresher and actually makes the colors pop more. Great job!
Thank you Katie! I actually toyed with going with a darker grey color- but settled on light. I love it and am glad I did!! Though I would still love to have a dark and smoky room somewhere…just to try it out. Maybe a friend will let me try it at their house?!?
So fresh and pretty! And, I didn’t realize that notch was to clean the roller- brilliant!
Thank you Shauna! Oh, and when I discovered that trick I felt like I had found the holy grail. It works so well!
Love the room makeover. I am curious what you did for the dresser, just sand, prep and paint the same as the walls??
Hi Sarah! I used some chalky based paint for that makeover- I will be sharing my tutorial on it really soon!!
I love how everything pops against the white backdrop! I thought the blue was pretty, but the white is perfection!!
Thank you Anne! It made me want to start repainting the rest of the house… bwahahaha:) I loved the blue as well but I love how I can add so many other colors without it getting too crazy now that the paint colour is lighter and brighter.
small change with a big difference! love it and your art all really stands out now!
Thanks Cassie! I love the difference…I agree with you. The art does pop way more- and that poppy set is my favourite art in the whole house:)
Love the poppy set…..where did you purchase it?
Thanks for the painting tips. I have been buying supplies for my master bedroom. I wish I had known about the bags at Benjamin Moore, I could have purchased everything in one place. Now I know where to go next time! Thanks again!
I know Shari- so handy, right? It was definitely time for me to get a new roller and brush – mine were so old and destroyed. And I love that it included a tray liner as well – such a dream for cleanup!!
Gorgeous, Krista! I consider myself a painting pro and I even learned a couple things! Love the tip about prepping your roller with a lint brush and using the curve of the paint stick to help clean your roller. So smart. Love the dresser white and the new headboard fabric is so pretty! XO
Thank you Christy!! I love that lint brush on the roller tip – some rollers seems to leave about a zillion little bits of fluff on the new walls…and the curved end is my favourite trick. Cleanup time was cut in half once I learned that! Plus, it is shocking how much paint you can put back into the can instead of leaving it on the roller and washing it all down the drain. I love the headboard fabric too, though it has made choosing drapery fabric rather interesting (let’s just say it has a strong personality;-)
I had no idea about the curved end of the paint stir stick. Thanks for the tip! Your bedroom looks great 🙂
I hadn’t known until a few months ago either- when someone shared it with me and I tried it I was seriously giddy. So helpful!! Thanks for the visit:)