
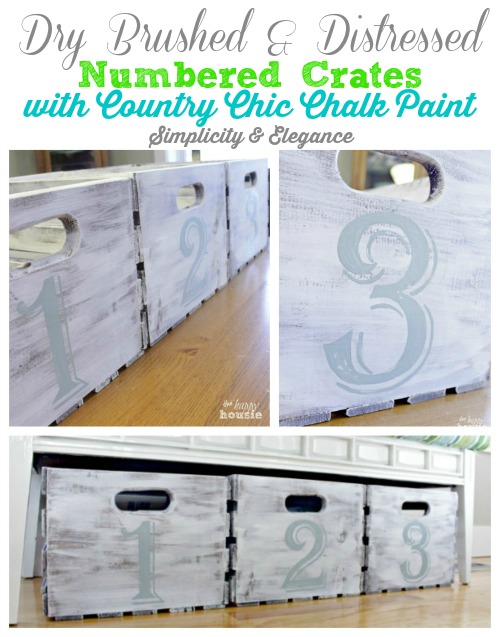
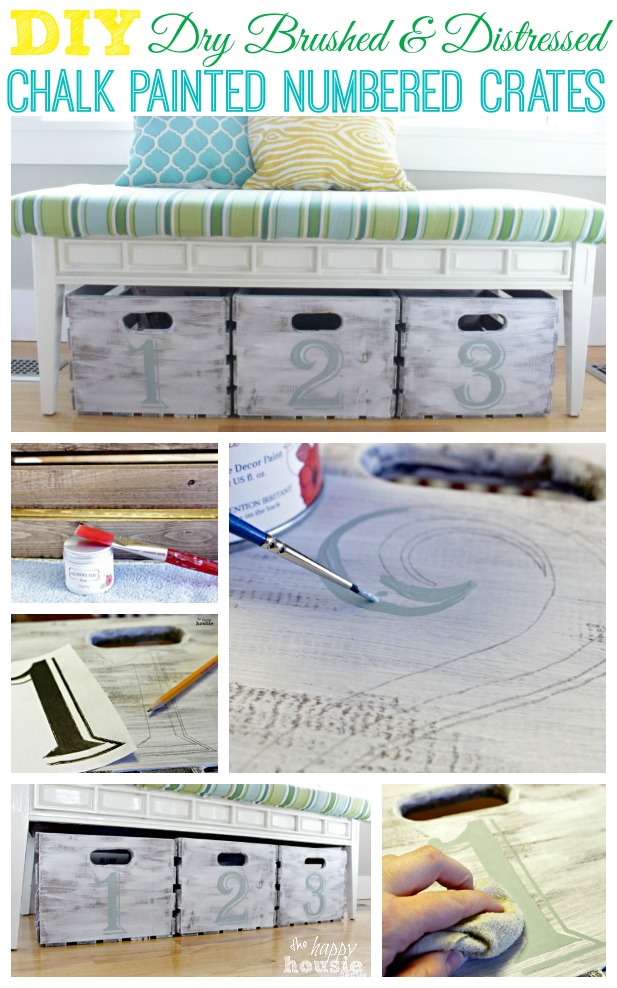
DIY Dry Brushed and Distressed Chalk Painted Numbered Crates
Kids come with a lot of stuff. Books. Toys. Games. Puzzles. Clothes. Sports gear. etc. etc.
And even though we have a playroom… the ‘stuff’ seems to spill over. And sometimes it can feel like it is taking over the house.
Do you know what I’m talkin’ about?
What we need (besides a good old fashioned purge every now and again) is to take advantage of every little piece of space in our house in order to keep things tidy and organized.
But I know I don’t want just any old bin mucking up my living room. Do you?
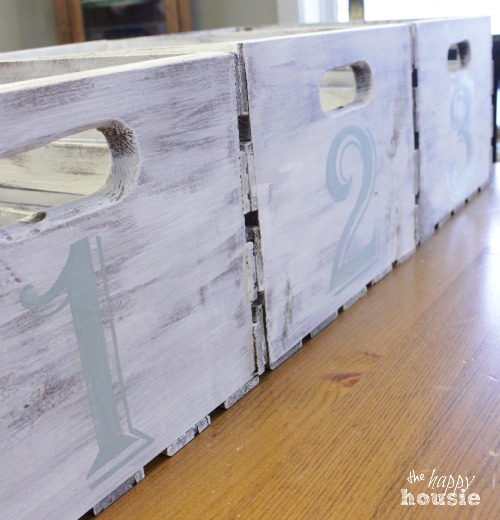
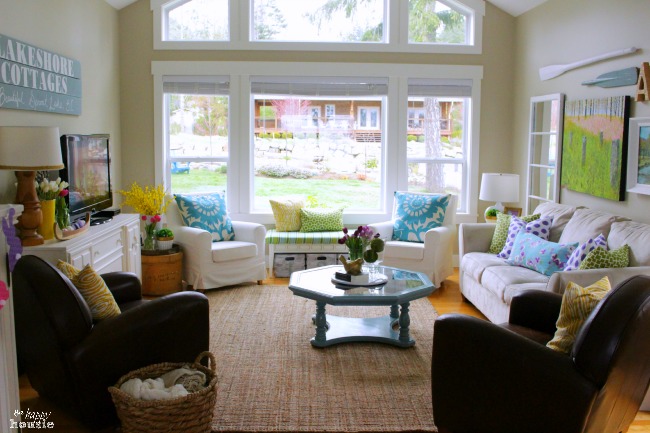
Enter these dry brushed and distressed numbered chalk painted crates that I made from some inexpensive unfinished wooden crates that I picked up at a big box store. They cost less then $9 each. And with a little DIY, they are now a stylish and functional addition to our living room. The perfect spot to store those puzzles and books close at hand in our living room.
And they fit right under our little window bench. Double bonus.
To make these I used:
– wooden crates (I bought mine at Walmart for $8 each)
– wood stain
– Country Chic Chalk Paint in Simplicity
– Country Chic Chalk Paint in Elegance
– a computer print out of my numbers
– a pencil
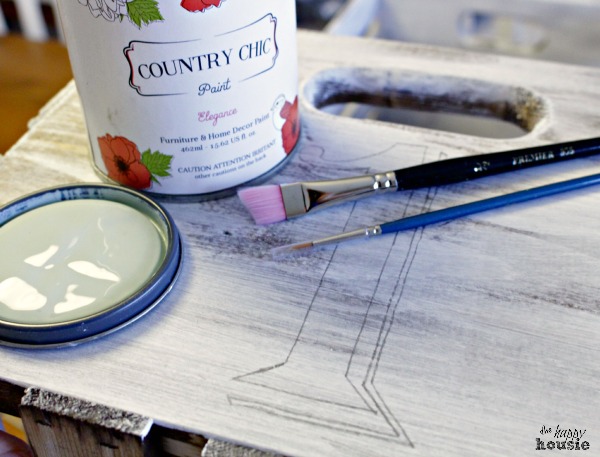
Step One: Dry brush the Crate in Simplicity
I started out by giving the crate a coat of wood stain and letting it dry.
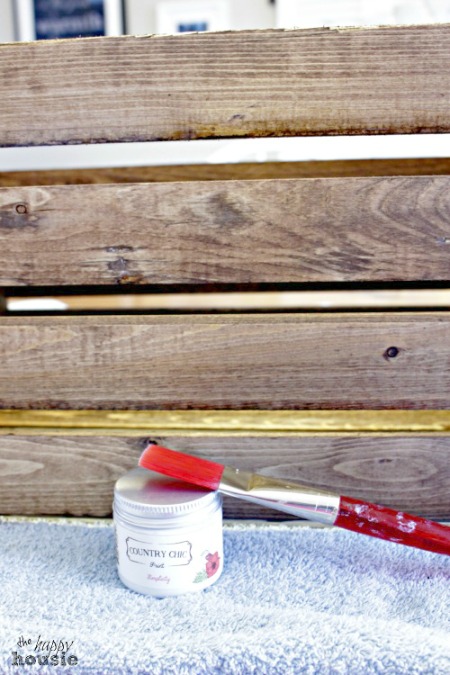
Once dry, I used a thick craft paint brush to ‘dry brush’ on a coat of Simplicity.
To dry brush, simply dip your brush in the paint, then remove the excess by dragging the brush along the edge of the paint container. You can also remove the excess by dragging the dipped paint brush onto an old rag.
Once your brush is quite ‘dry’, apply the paint onto the crate spreading it out as much as possible until all the paint is off of your brush.
Once the dry brushing is complete, your crate will look something like this….
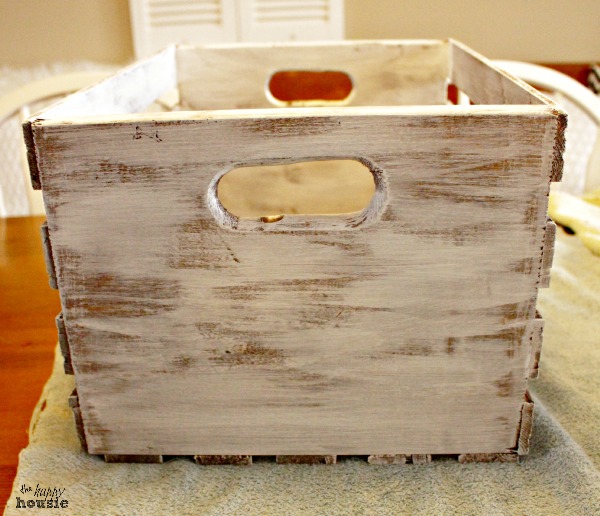
You really can’t go wrong with this, because if the paint goes on too heavy, it is easy to remove it with a damp cloth (especially within the first hour after painting).
Once the dry brushed crate(s) are “dry” it is time to move onto…
Step Two: Stenciling the Numbers
Start by printing out some numbers that you like on regular printer paper.
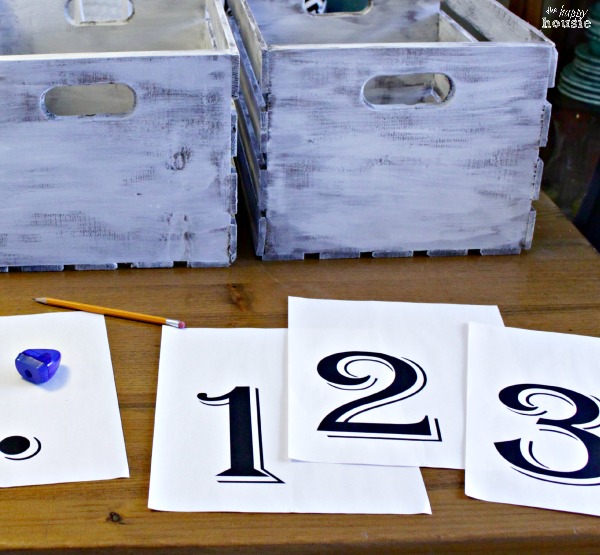
Flip the paper over and use a pencil to fill in the number on the BACK of the page… by doing this you are, in effect, creating your own ‘transfer paper’. It should look like this on the back side of the paper:
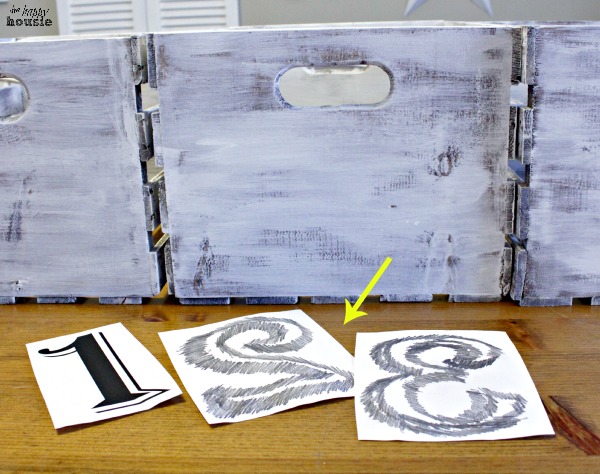
Then position a number on one of the crates (with the printed side facing up towards you and the penciled side against the crate). Trace over the number outline with your pencil and it will magically transfer the pencil onto your crate, creating an outline of the number directly on your piece.

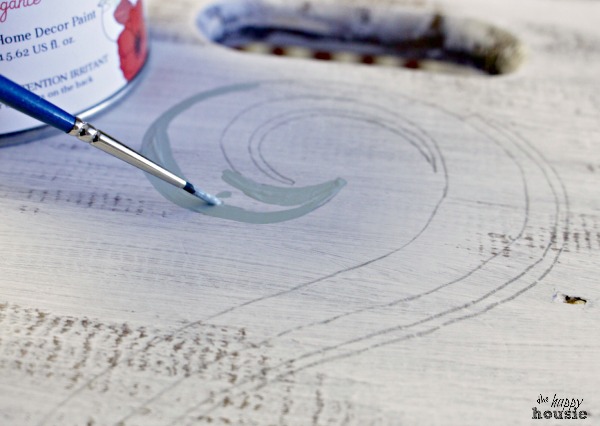
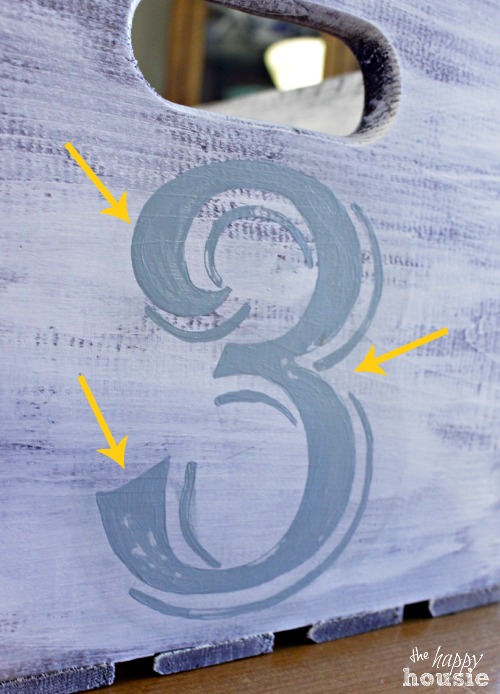
Step Three: Painting and Distressing the Numbering
Once all the numbering has been outlined on the crates, simply fill in the numbers using your paint (I used Elegance) and a small craft brush. Don’t be nervous- it doesn’t have to be perfect because you can disguise imperfections when you distress it later.
Once the numbers have been painted, let them dry for less then an hour, and then distress them using a slightly damp cloth. Just press your cloth down where you wish to distress the paint and gently rub back and forth like you are doing some cleaning. Use gentle pressure at first until you get comfortable with how much pressure you need to use to get the look you want.
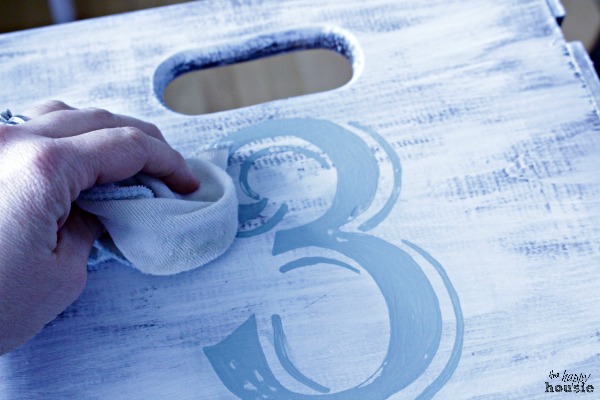
Here you can see where I removed the paint…
Step Four: Waxing
Let your paint dry overnight and then apply a coat of clear wax using (ideally) a wax brush. This was my first project using an actual wax brush rather then a cloth to apply wax and it went on like a dream. I LOVE my wax brush and wish I had gotten one months ago. Let the wax dry for a little while (I let it dry for around an hour) and then buffed it off using a clean, lint free cloth.

All done!
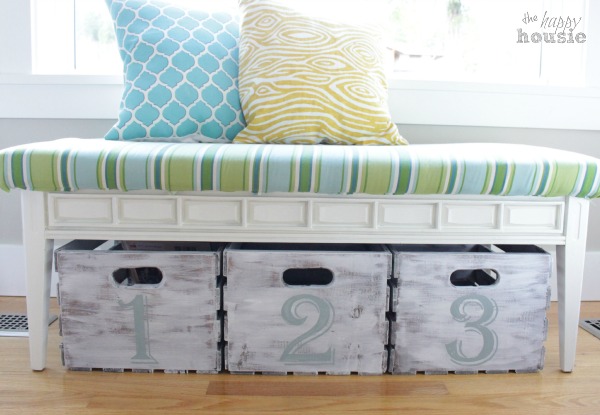
I love how these look below my DIY window bench in our living room – they are the perfect spot to store books and puzzles for my boys and give quick and easy access for cleaning up!
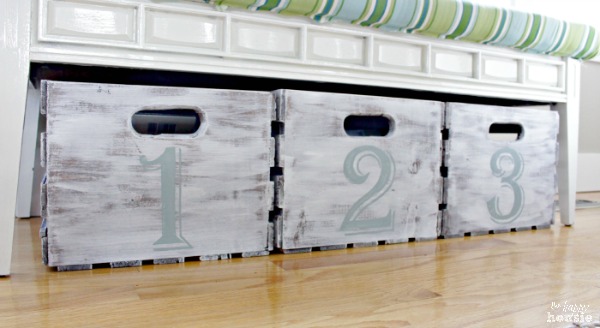
See where they are ‘hidden’??
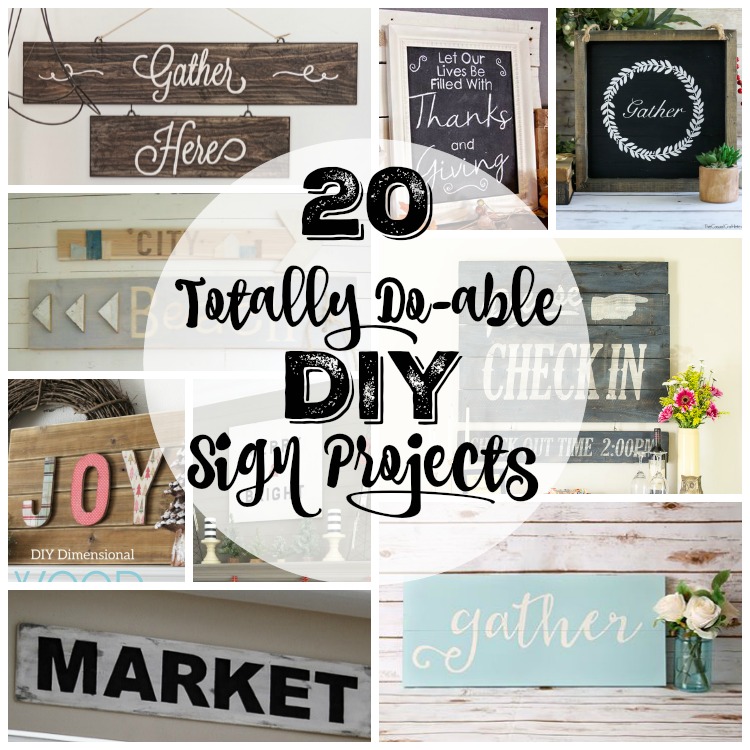
Like these?
Pin it to remember it!
Do you have any great ways to hide clutter in your living space? I’d love to hear about it!
Thanks for reading. And remember my housie friends, HOME isn’t built in a day. Enjoy the journey.


I may link up at some of these fabulous places below, for more info check out housie parties:
Make the Scene Monday , Monday Funday , Give Me the Goods Monday , Inspiration Monday, Craft-o-Maniac Monday, Nifty Thrifty Tuesday, Tip Junkie, Project Inspire{d} , Inspire Me Tuesday, The Scoop, Hit Me With Your Best Shot, Wow Me Wednesday Whimsy Wednesday , Fall Into Fall , From Dream to Reality, The Inspiration Exchange, Live Laugh Rowe Live Laugh Linky, Thursdays Are Your Days, The Weekly Creative , The Creative Connection, Inspire Me Please, Catch as Catch Can, Fabulously Creative Friday, Party Junk, Pinworthy Projects , Link Party Palooza,, Weekend Bloggy Reading, Strut Your Stuff Saturday, Spotlight Saturday, Get Schooled Saturday, Overflowing With Creativity , , Suburbs Mama , That DIY Party
Disclosure: This is not a sponsored post. I am a member of the 2014 Country Chic Paint Blog Squad. All opinions are 100% my own.


I love the crates so cute. Also love the numbers, what font did you use?
LOVE these. Actually saw them in the house tour you linked up to Serenity Now and then had to click over to see how you made them!
Thanks for reminding me about the technique to put words (or numbers) on a project without using a stencil! I was able to use your tutorial on my project – http://www.mindovermessy.com/easy-hand-print-heart-with-downloadable-word-love/. Your site is always a great help:)
—Nicole
These look great Krista! And that living room of yours is just gorgeous!! I’ll be featuring these tomorrow. Have a great weekend!
Jenn xo
Krista, these are GORGEOUS! And that living room of yours…to die for! I’d love to see you link these up at Skip The Housework Party! http://www.reasonstoskipthehousework.com/skip-housework-saturday-11/
Great tutorial, Krista! These turned out so pretty!
BEAUTIFUL!!! I love, love, LOVE this! Pinning now, and definitely following you. 🙂 Thanks so much!
I LOVE your storage drawers! The numbers are perfect and I love the colors and distressing! Beautiful job!
These are so cute and I love all of the photos! They look so perfect next to all of those bright and fun colors 🙂 Pinned!
These are too cute! I really like the look you gave them. By the way, I love the colors in your living room. Very happy! 🙂
Thanks Julie! They are super handy… and a thrifty way to get such large storage containers (without using plastic:). Thanks for your sweet comments!!
Love those Krista, you did a great job!
Thank you so much Dani! And thanks for popping by!
I love it, Krista! Your room is so bright and happy – I yearn to have that kind of colour in my space. Your stenciling always amazes me. Lady, you’ve got patience!
Well Tara pretty quick you get to create your own whole new spaces! How exciting:) Thanks – the stenciling is easier then it looks… but I do need to get a silhouette one of these days. Would save me a lot of pencils:)
Wow, these turned out gorgeous!! Great idea!
Thanks Sonnet!!
I love the paint treatment you did here Krista! Pretty and functional = perfect! Pinning 🙂
Thanks Corey! And it was easy:) Thanks for the pin!!
Love how they turned out!!! They blend so well in your space, which by the way I love as well!!
Thanks Selene!! I love the soft colors. Thanks so much for coming by!
These turned out awesome! What is it about numbers that makes everything more fun? 😉
Stopping by from Whimsy Wednesdays.
I agree – numbers do make things more fun. Hmmm… wonder what it is?! Thanks so much for popping by!
Wow, these are so beautiful! I’ve never tried dry brushing before..but you’ve inspired me!
Hi Marilyn!! You should give it a try- a great alternative to sanding after you have painted if you want a distressed look:)
I love this idea, how fabulous and any extra storage is such a bonus. Great tutorial. Thanks tons for linking to Inspire Me.
Thank you Marty! Storage is always at a premium!! Thanks for hosting:)
Your crates look great Krista, I think those numbers really make them – super cute!
Thanks Heather- I agree, the numbers make them! Thanks for popping in!
These turned out beautiful! and looks perfect with the bench. Pinning to remember 🙂
Kristy @ 3 Peppers Recipes – Crafts, Cooking & Color
Thank you Kristy! And thanks for the pin:)
great project! Love the colors in your room, too! Would love for you to join up at Trash 2 Treasure Tuesday link party. We’re not a “new” party but alwyas love some “new blood”. 🙂 http://www.kammyskorner.com/2014/04/trash-2-treasure-tuesday-linky-party_28.html
Thank you!!
So pretty and perfect for your gorgeous room!
Aw, thank you so much Julia!! Thrilled you popped by:)
I love those crates! You do great work. Please come share at the Anything Goes linky, if you have not already.
Thank you!
Those crates are so adorable… And it must be so nice to have a place to organize things….. I love how the whole room is coming together so well…… 🙂
hugs x, Crystelle
Crystelle Boutique
Thanks so much Crystelle!! They are a great little storage solution for an otherwise wasted space. So thrilled you came by!
These turned out so wonderful!
Thank you so much Amy! They were pretty simple too:)
Hi Krista – These crates look like they came from a high-end store! Such a great idea and even without small children in the house, I think a lot of us could use these to keep things organized in a chic and stylish way. Love it! What brand of wax brush did you use? With so many of my blogging buddies inspiring me, I plan to take my first baby steps into chalk paint very soon! 🙂 Thanks for sharing and pinning! Have a fantastic week!
Thank you so much Cindy! What a great compliment:) I used a wax brush from Country Chic Paint -they sent it with my paint and wax. When I first started using chalk paint I made my own and used a cloth to do my waxing… but the brush is such a treat – super fun to use:) Thank you for coming by – have a great week!
Cute storage! I was thinking about hunting for some boxes for my porch, but feel pretty motivated to try a DIY now! Love the dry brush look
Hi Tia! I am diggin’ the dry-brushed look too… and it is easier to just dry brush then to have to sand it all off later:) Thanks for coming by!!
Did you make, or buy the cushion? I didn’t see that part of your tutorial.I love how the bench looks like a window seat. I’ve always wanted one, but our windows aren’t low enough.
Hello! The bench is actually an old coffee table that we turned into a bench by upholstering the top with some fabric covered foam and painting the legs out white. The cushions sitting on the bench are some of my DIY Envelope pillows. I don’t have a tutorial for the coffee table/ window bench because I did that project pre-blogging. darn!
Perfection! I love how they turned out… so soft and beachy!!
Thanks – they definitely are soft and subtle – glad they look beachy too! Thanks for coming by Cynthia!
Looks great. I love having places like that to store all the “stuff” you don’t know what to do with.
Exactly! When everything has a spot it is easy to stash away all that clutter!!
Country Chic Paint for a Country Chic Renovator sounds like a perfect fit for me!!! Love this little project of yours.
Lol! Exactly perfect… it is pretty fun to work with:) Thanks for coming by Danica!
I am impressed! I love the project and your DIY instructions are fabulous! Thank you for sharing this! Pinning!
Thank you so much Thea!! So thrilled you stopped by – and thanks for the pin!
Great project, Krista! Thanks for the tip about the wax brush. I’m definitely going to try that next time.
Hi Tatiana! You definitely should give a wax brush a try- I am SO glad to have it now- much, much better for waxing with. Thanks for coming by!
Cute project Krista! I love those numbers!!!
Thank you Anne! Now to get moving on finishing off the rest of it!! Thanks for coming by -have a great week!
How chic! Looks like they came from a French Boutique!
Thank you Kris! What a great compliment:) Thanks for coming by!