
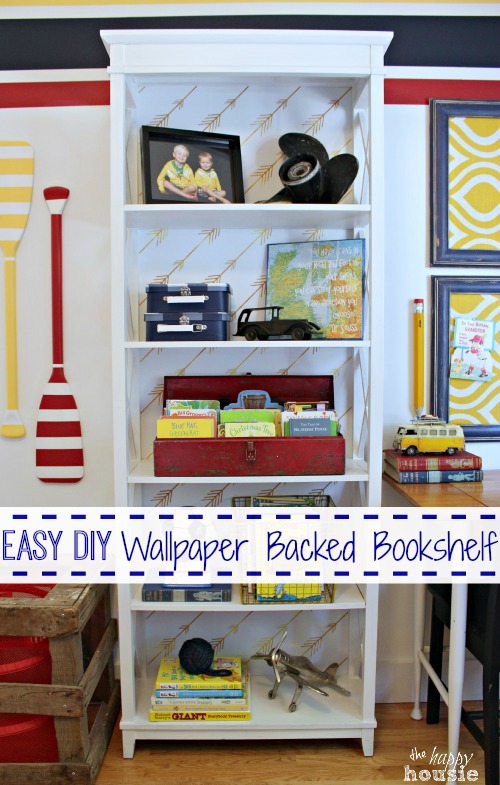
Easy DIY Wallpaper Backed Bookcase
I am sharing an easy DIY wallpaper project that anyone can accomplish!
I’m not going to lie.
I’m pretty excited about today’s DIY project because it was an absolute first experience for me… my very first project using wallpaper.
Have you done a wallpapering project before? Well, this wasn’t just any ol’ wallpaper project because I got to use ‘repositionable’ wallpaper. No messy glues. No fuss. No muss. (What is muss anyhow??).
And I must tell you, I am absolutely smitten with how it turned out. I am already plotting other possible areas that I can incorporate some beautiful wallpaper into our home.

If you have been following along on this DIY challenge, then you might remember that I tackled a corkboard project for our boys’ shared bedroom with my FABRIC last week.
This challenge has been awesome for pushing me to try to finish up their bedroom space. I would say that I am now almost officially finished. I have two sewing projects left to go with the remainder of my fabric from last week. I want to make some extra large shams for their room and they desperately need a new window treatment…
Anyhow, let’s get back on track talking about this week’s challenge: WALLPAPER.
I was super thrilled when Shauna told us that we got to work with Spoonflower for this challenge. Have been over to visit them before? Such amazing designs- and you can have them printed in fabrics or on wallpaper {or even gift wrap!!}. You can even upload your own design and have it printed as a fabric or wallpaper. Seriously. I’m not telling stories. But if you aren’t feeling up to the design aspect, they have an absolutely incredible selection of designs to choose from.
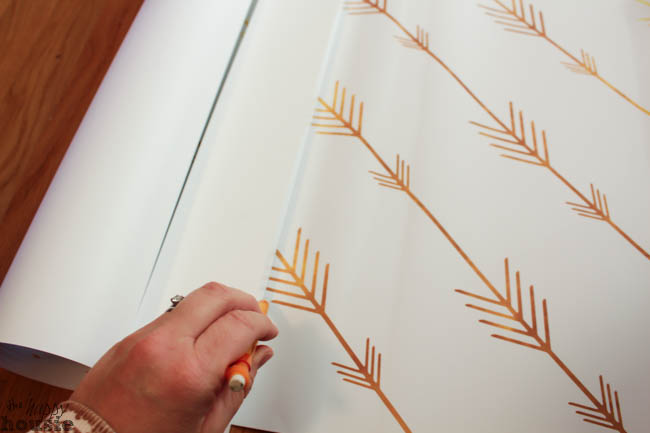
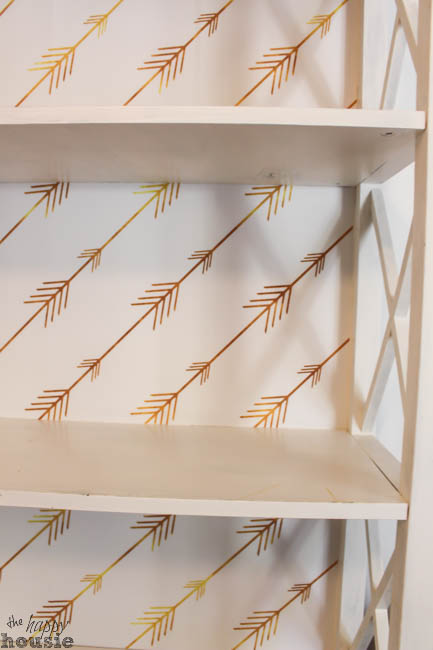
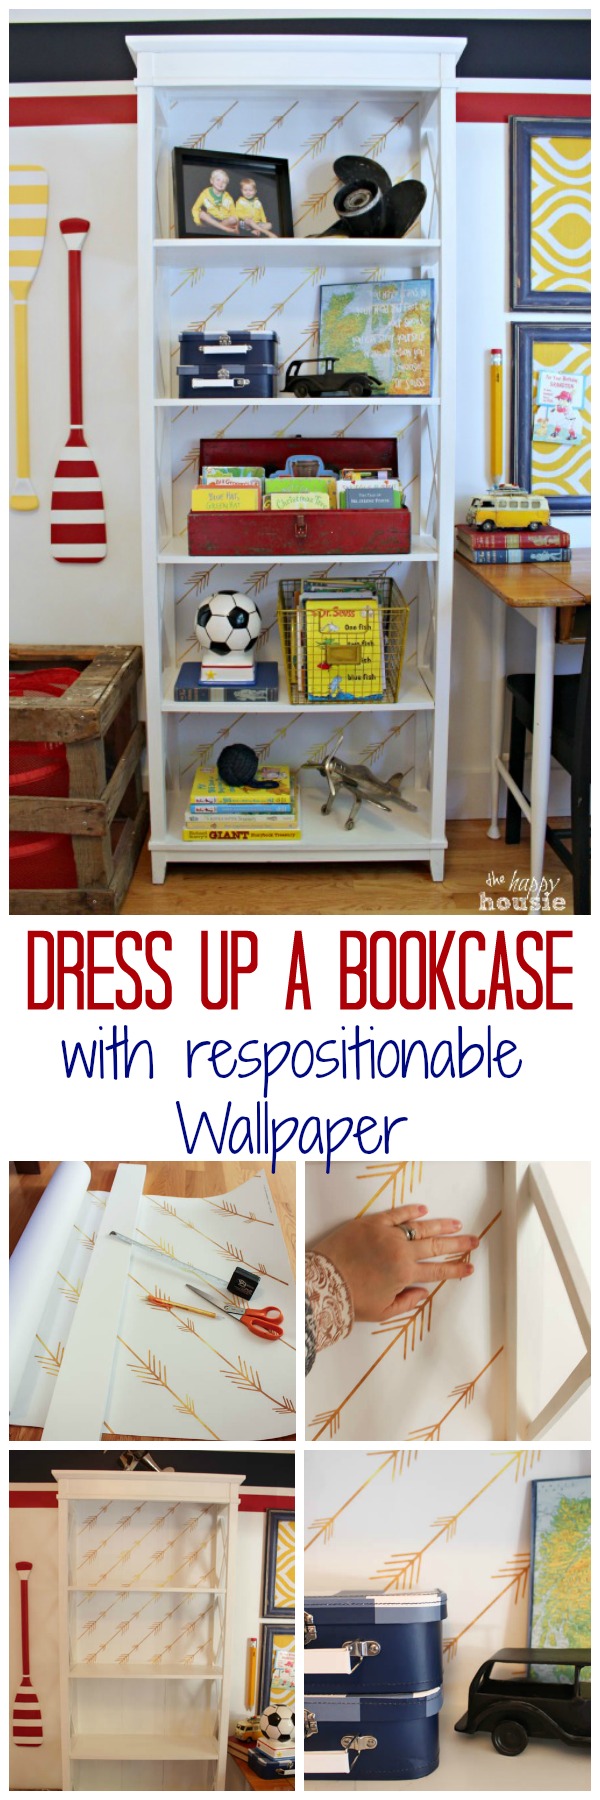
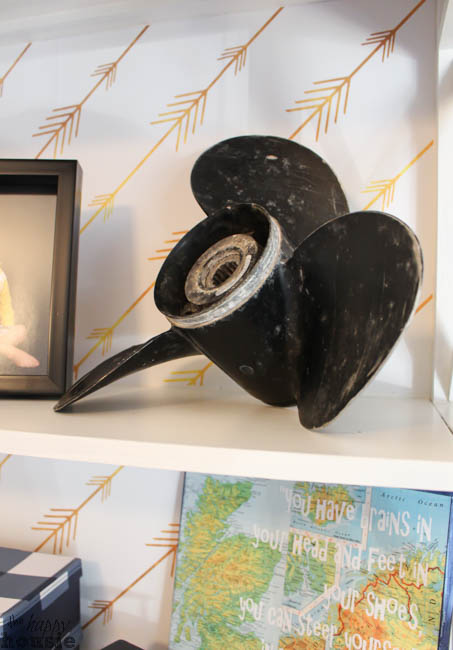
I chose Gold Arrows by Sparrowsong. I love this soft design; the colours are so fresh and beautiful…kind of a yellow gold that ombres into a darker gold throughout the pattern.
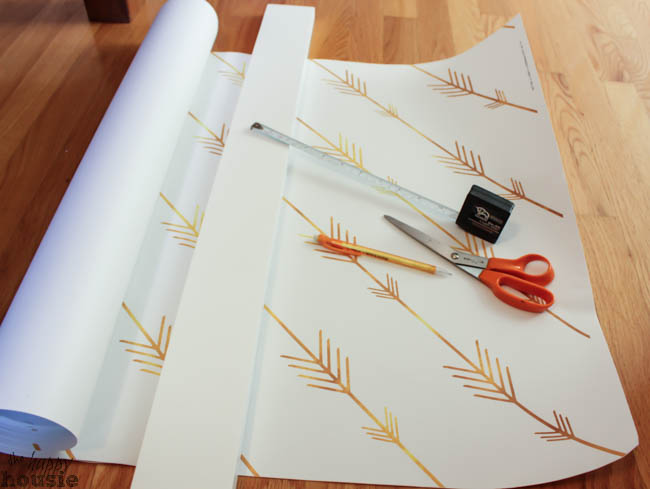
I started out with these materials:
One standard roll of Gold Arrows Peel and Stick (repositionable) Wallpaper from Spoonflower, a pencil and a straight edge, a measuring tape, and scissors.

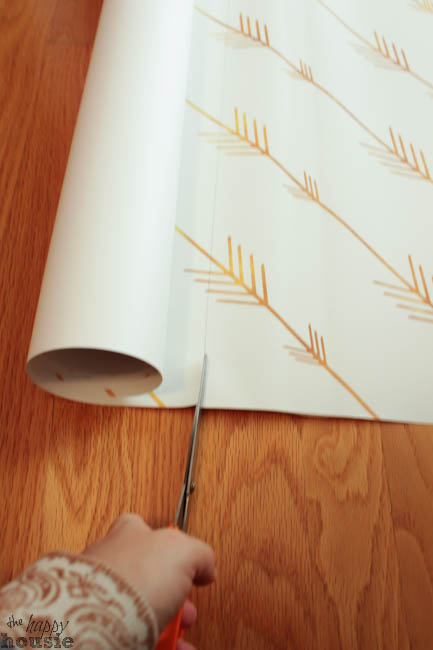
This project was ridiculously easy for me because the width of the bookshelf perfectly matched the width of the wallpaper roll. Luck or serendipity, I suppose. But either way, it meant that I only had to measure the height of each section of the bookshelf, and then measure, draw a line, and cut the wallpaper into strips that would fit the correct height between each shelf. First I cut off the bottom 1/2 inch unprinted strip.
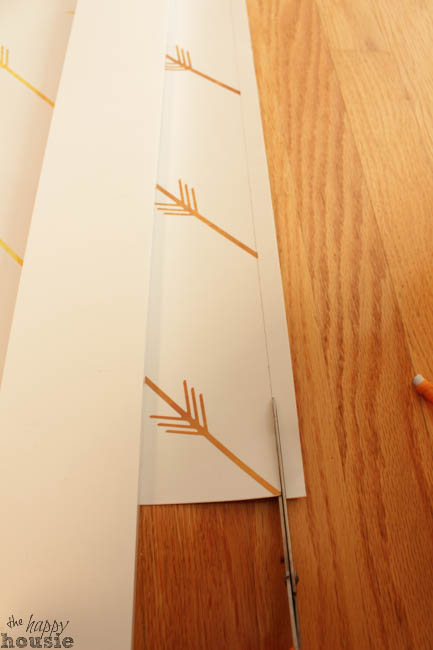
Then I just measured in three spots and marked it with a pencil, lined up my straight edge and drew a line connecting all the spots…
Then cut along the pencil line with my scissors…
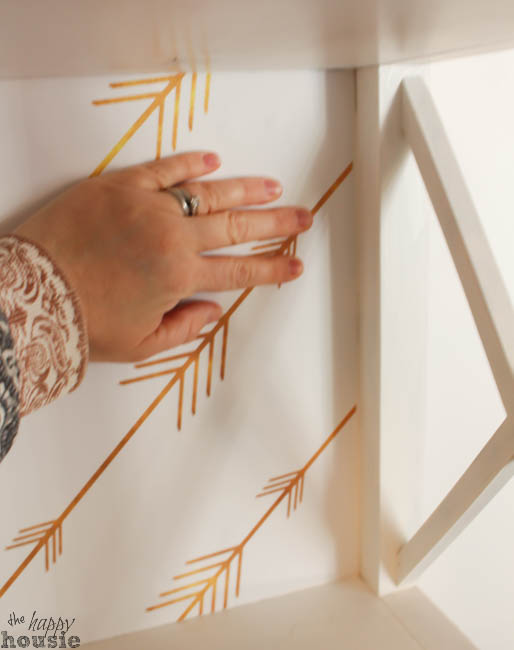
Peel the patterned front off of the back of the wallpaper…
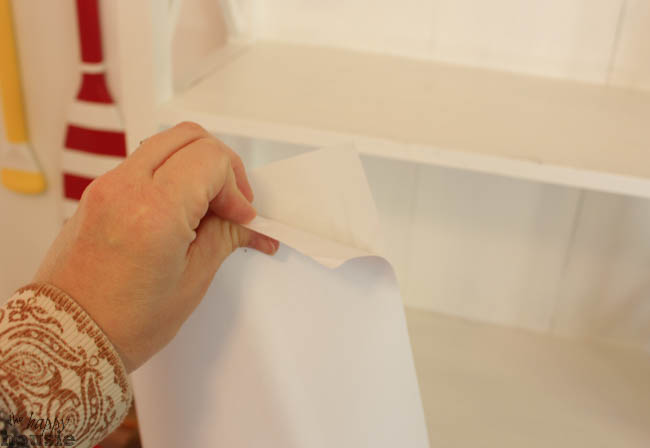
And then lined it up with the top edge of the section of the bookcase and press it gently down. It truly is repositionable and you can peel it up easily and readjust it if necessary.
The whole process was super easy and it went up really quickly…

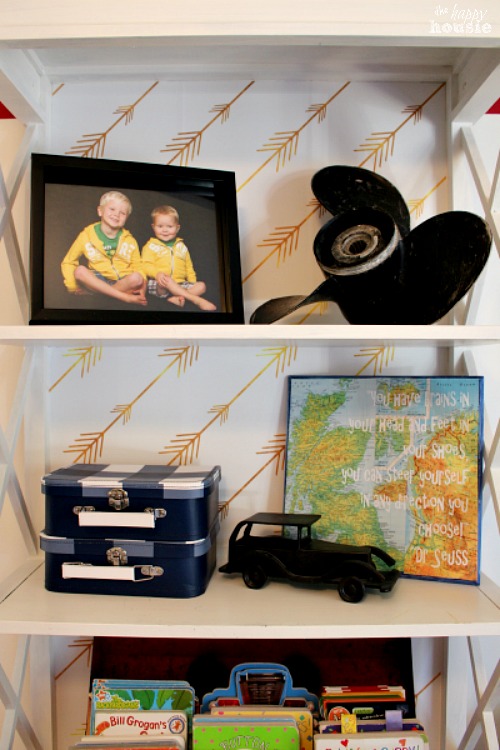
Done! I’m pretty much geeky giddy about how cute I think it looks so now I am going to show you a ridiculous number of pictures to demonstrate my love for it.

Here’s a little comparison for ya… just because my heart beats faster for a good ol’before and after.
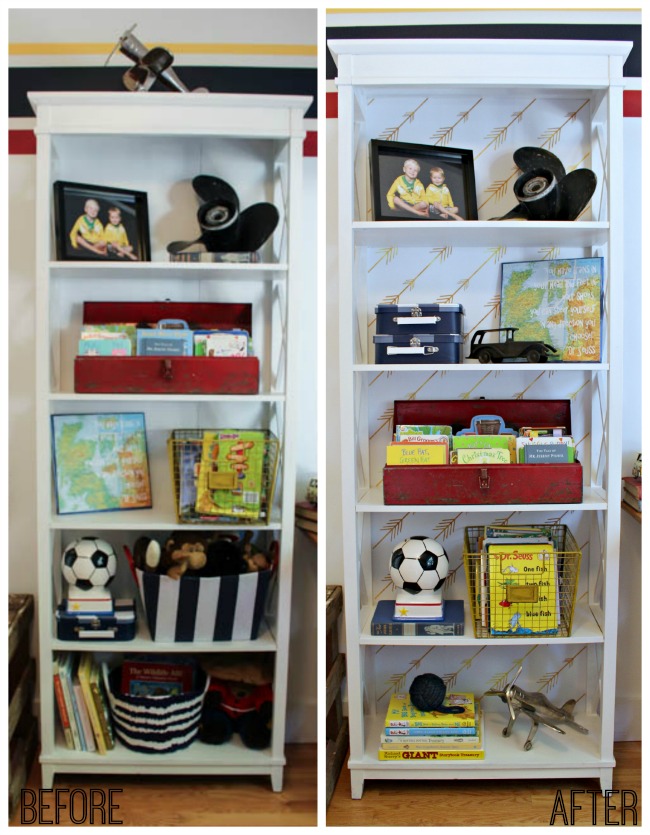
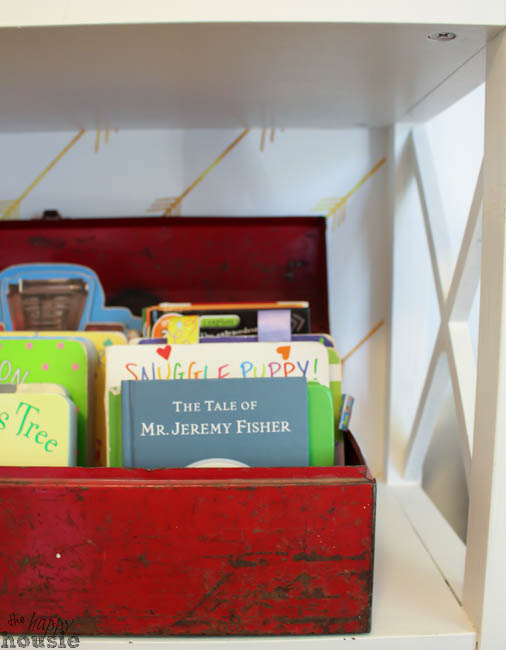
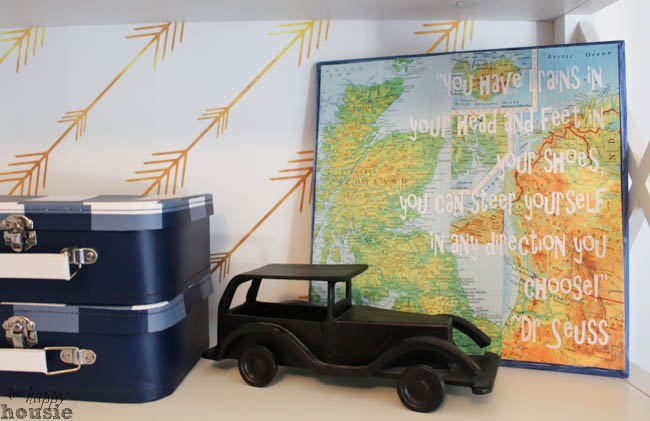
Cute, right? What a quick and easy way to give your bookcase a whole new look!
Want to remember this idea?

My fellow One Item Challengers all hit it outta the park on this one, too.
Check out these amazingly beautiful projects…
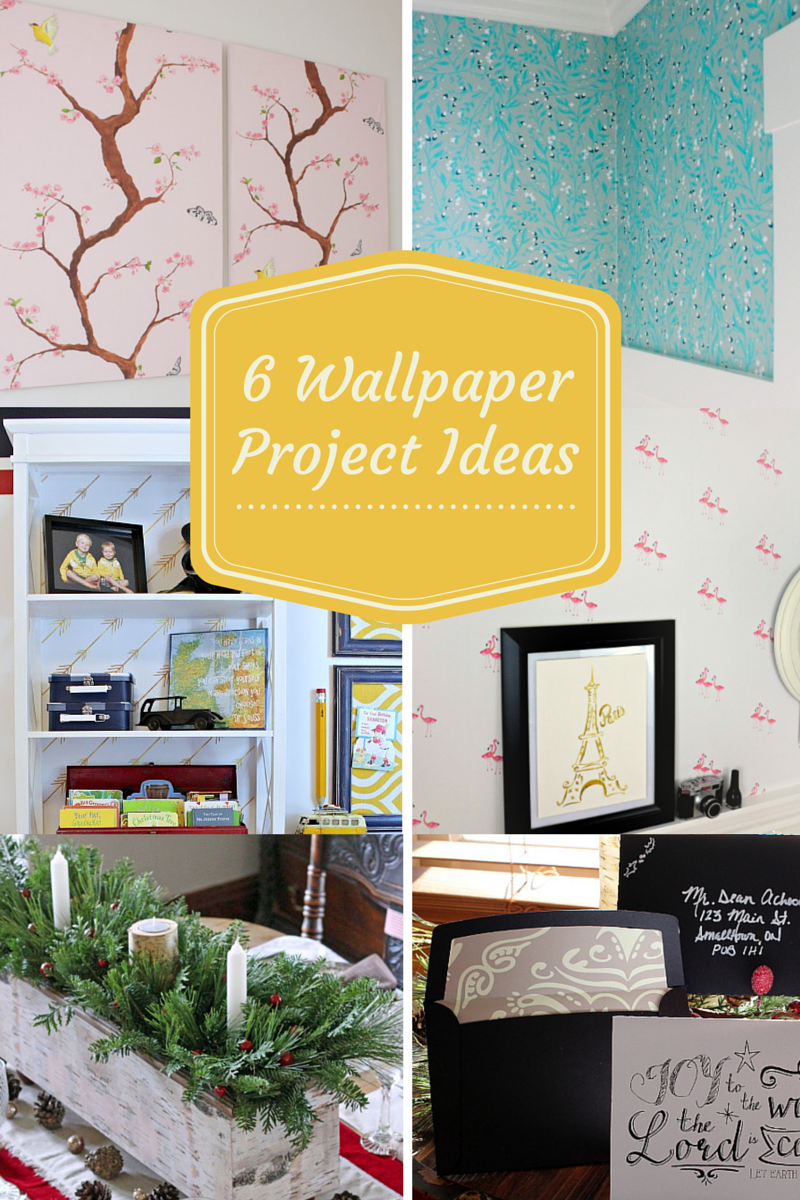
Wallpaper Canvas Art by So Much Better With Age
Powder Room Wallpaper by Satori Design for Living
Wallpaper Backed Bookcase by The Happy Housie
Bathroom Makeover by Craftberry Bush
Faux Birchbark Centerpiece by Fynes Designs
Fancy Wallpaper Lined Envelopes by AKA Design
I’m kinda bummed that the One Item Challenge is over! It was such fun challenging myself to work with a specific item…and great to see how many different ways that my fellow challengers could interpret an item.
Thanks so much to Shauna from Satori Design for Living for organizing and hosting this whole thing!
What do you think? Do you hope to tackle a wallpaper project any time soon?
I love how mine turned out so much that I want to try doing a small room in some wallpaper….
Maybe I should wait until after the holidays?!?
I realize your wallpapered bookshelf post is old but I have a question. I appears the back of your bookshelf, prior to applying wall pape,r was not smooth … maybe had seams in the boards? I plan to wall paper the back of coat cubbies with removable wall paper but I am concerned because they have individual boards on the back therefore seams. I am trying to figure out if they seams will be visible after covering in wall paper.
It did have very light seams (as in not deep) and it still worked well – so I think it depends how deep the seams are.
Have you had any problems with the wallpaper sticking? I am thinking about doing this to a bookshelf in my classroom (inside and outside), but am afraid it’s going to fall off. Any tips or suggestions would be much appreciated. Thank you!
Hi Nichole! No – it has stayed completely in place. It is a pretty good quality wallpaper and the reposition-able adhesive seems to work really well. In the past I have used pretty contact paper in my classroom – and it looks great but definitely leaves a sticky mess when you peel it off later so that is another option to consider.
Great wall paper project, Krista! Love the result!
Love this idea! And those arrows are too cute.
So cool! Love the pattern you chose, Krista! Your boys’ room is looking awesome!
~Abby =)
I’m obsessed with that wall paper!!! LOVE
Oh my! What a transformation! I want to do this at the not-so-rustic cabin!! Thanks for the idea, girl 😉
Hugs, Jamie
I love that wallpaper! The arrows are adorable!
Perfect, Krista!
LOOKS FAB!! I love the pattern you chose, the gold arrows are so cute. I can’t wait to see the whole room!
It turned out so great. So hard picking just one pattern, wasn’t it? I’ll have to try the peel and stick next time! Thanks for playing along. It was fun to see what everyone did each week. Now, take a break!
love it! i love the paper you chose!