
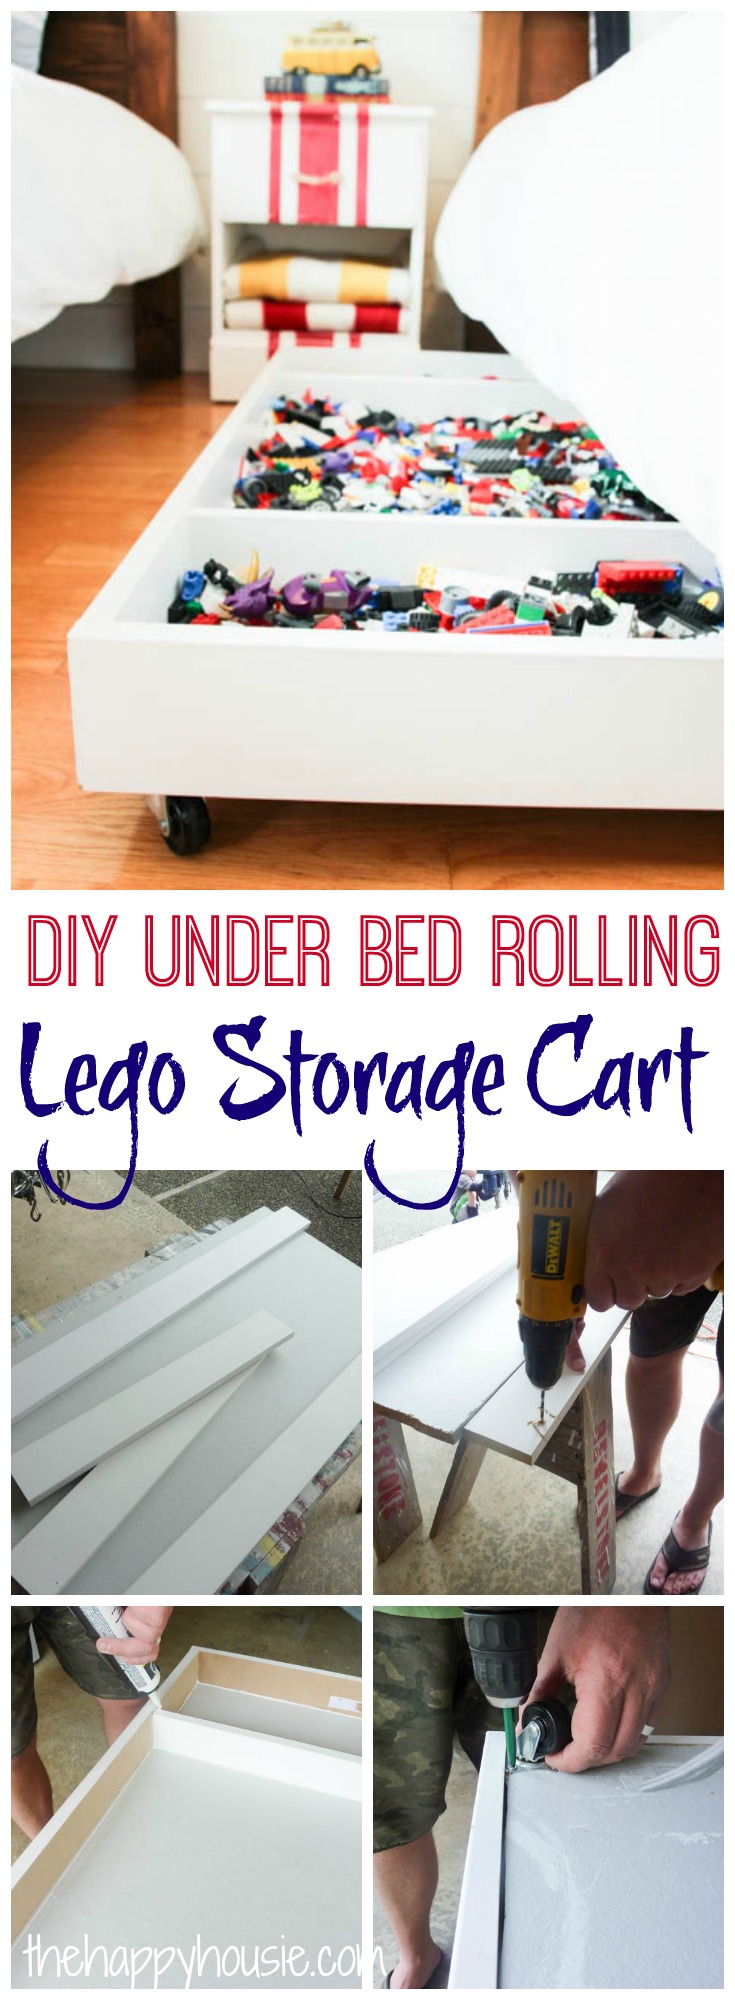
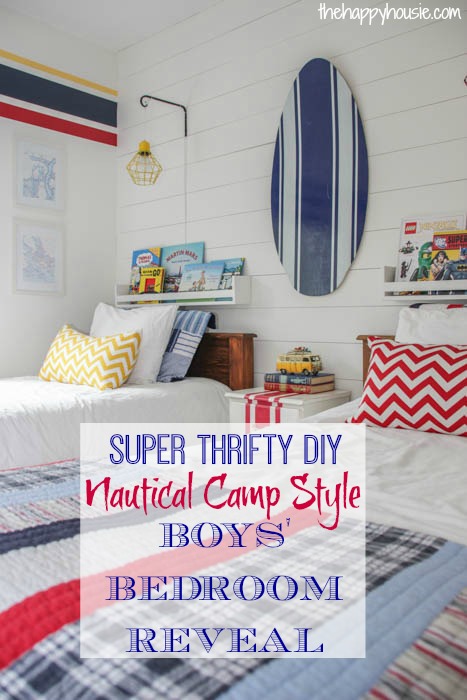
DIY Under Bed Rolling LEGO Storage Cart
I will show you how to store all that Lego in a DIY under bed rolling cart!
Welcome back for Day two of BOY MOM MADNESS!!

Yesterday I revealed our boys’ shared bedroom space (fiiiinaaaallllyy!), and today I am sharing a little DIY organizing idea that we did to help store and manage all of the LEGO that seems to come along with having boys.
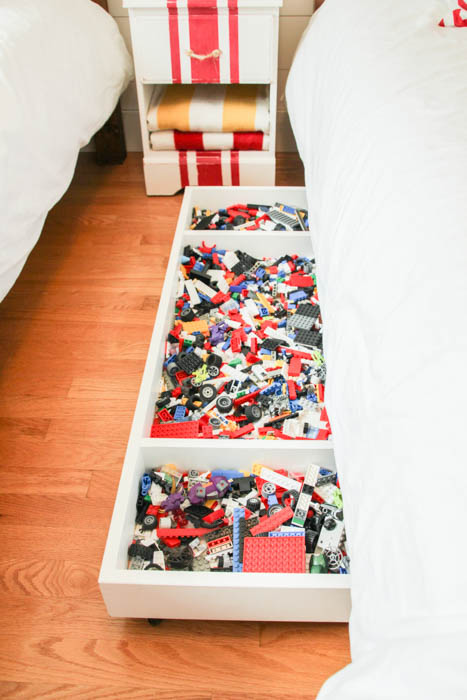
A DIY Under Bed Rolling Lego Storage Cart. 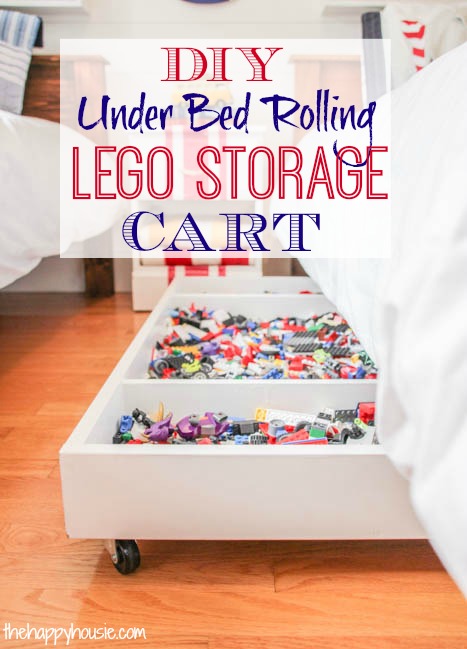 Lego is a bit of a Jekyl and Hyde, if you ask me.
On the one hand, I love seeing the boys play with mixed lego (not just sets with instructions) as I think it is fabulous for developing their creativity, spacial awareness, and fine motor skills. {Are you impressed with how teacher-y that sounded?}
On the other hand, few things manage to infiltrate your home in quite the same way as lego. I didn’t want to store it down in the playroom with the other toys because I knew that it would get spread from one end of the basement to the other, and burrow itself into the carpet waiting for the first bare feet to attack. But, as you probably saw in our boys’ bedroom reveal, their room is quite small. So I decided to utilize the space under the bed with a rolling cart. It was the perfect solution for our lego problem!
To make this we used:
![]()
– a large piece of MDF that we had leftover from another area in the house (our cart is about 2′ by 3′ – but you can choose whatever size will work for you and fit nicely under the bed/ in the room).
– enough 1×5 (really are 3/4″ by 4.5″) MDF trim boards to go around the entire outside perimeter of your base piece.
– optional 1×4 MDF trim boards to use as divider boards inside the cart
– four castors (I bought mine at Walmart)
– 1″ wood screws
– “Stronger then Nails” construction adhesive
– a mitre saw and a drill
– wood filler, sanding block
– primer, cloud white trim paint, clear varathane, a paint brush

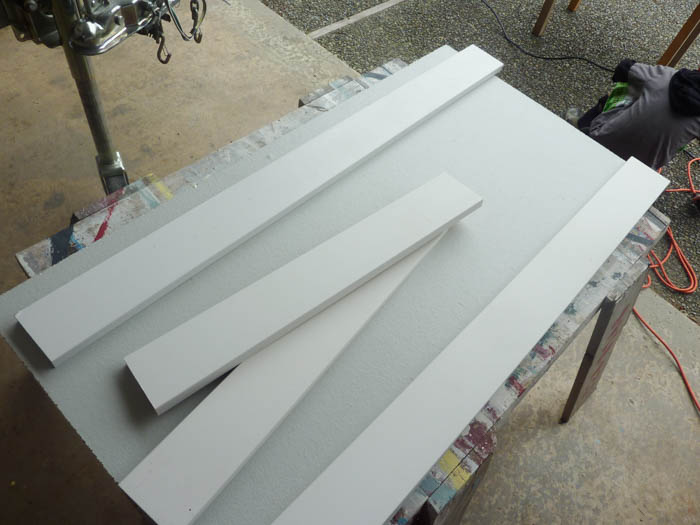
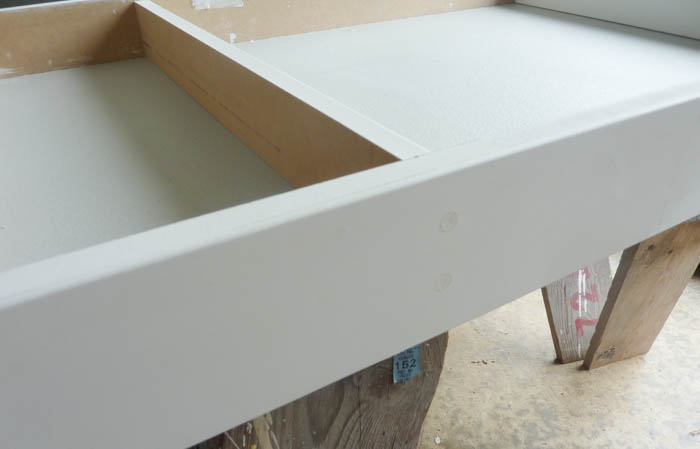
We cut the 1×5 MDF trim boards to the correct length to go all around the edge of the large bottom piece of MDF using our mitre saw.
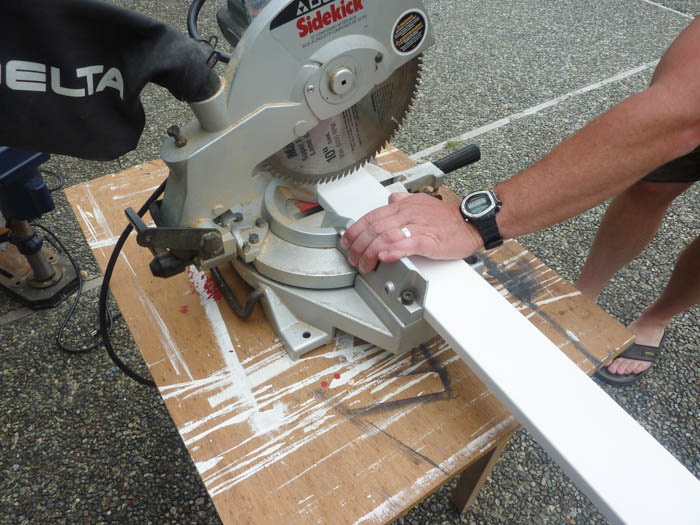
Apparently the junior carpenters weren’t a big fan of the noise of the saw…

Once the four edge pieces were cut, we used the construction adhesive to attach them to the base piece….
But first we predrilled each piece of MDF in on each edge and along the middle of the board… this is where the wood screws went through to attach to the base piece. 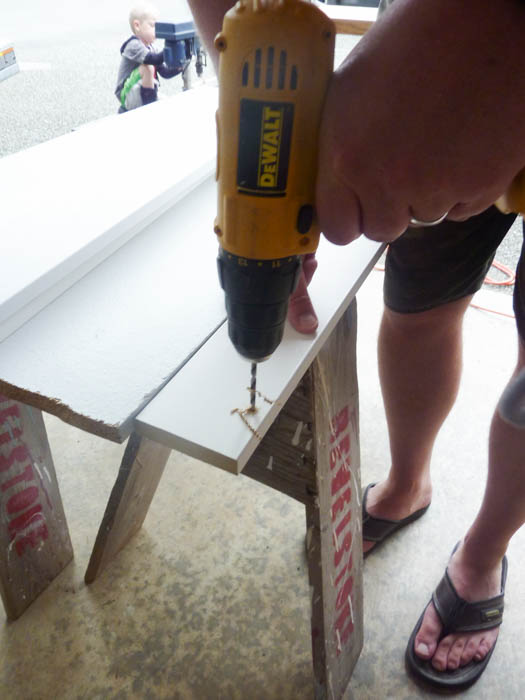
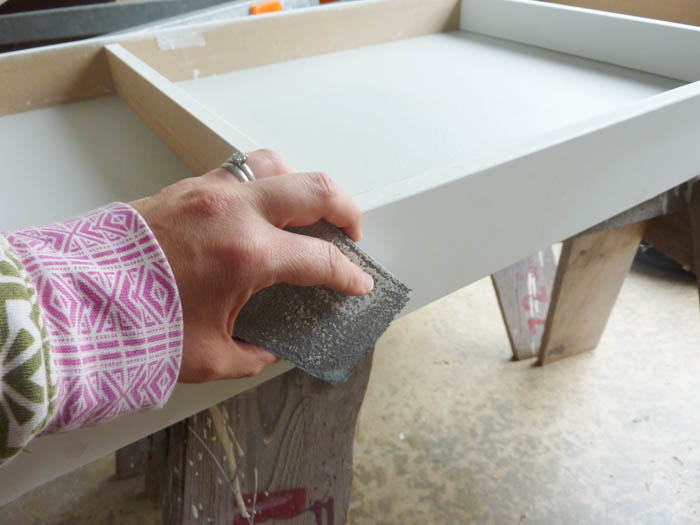
You can see in the picture below that the trim boards were attached on the outside of the base piece – we also added two pieces of smaller MDF (1×4) to create divisions inside the storage box/cart. This was attached with the construction adhesive as well as two wood screws through the side (you can see where we filled the screw holes, below).
Fill all the screw holes, let the filler dry, and then sand it smooth.
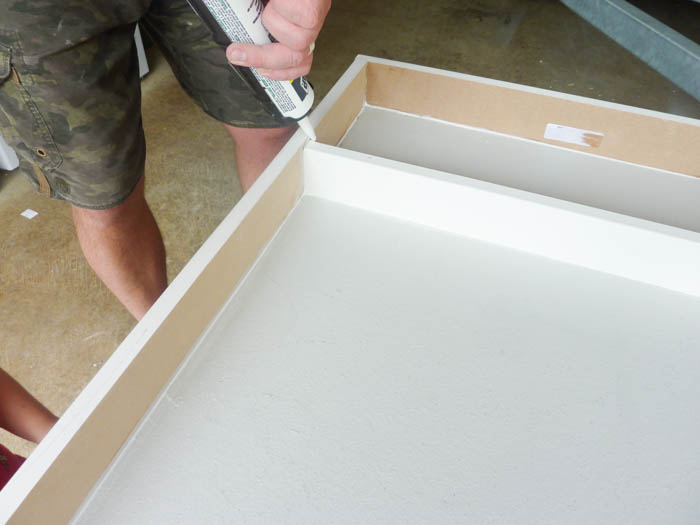
The hubs also likes neat edges, so he went along and used some DAP (our favourite finishing ‘tool’) all along the edges of the cart. If you haven’t used DAP, you must try it. We love it for finishing all our trim work off – it gives a perfect smooth finish between the board and the wall (or in this case, between the different boards making up the cart).
 Follow this with a coat of primer, and two coats of paint in your colour choice. We used the leftover Cloud White trim and wall paint from the boys’ bedroom.
 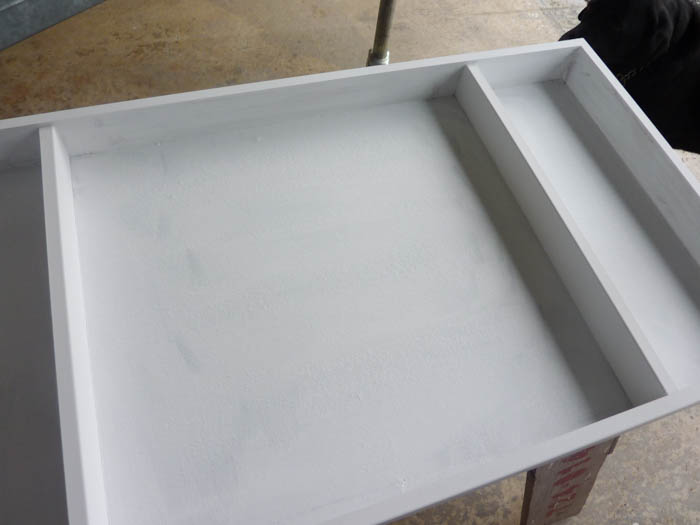 I followed the paint with a protective coat because I anticipated this piece would get a fair bit of wear and tear…
 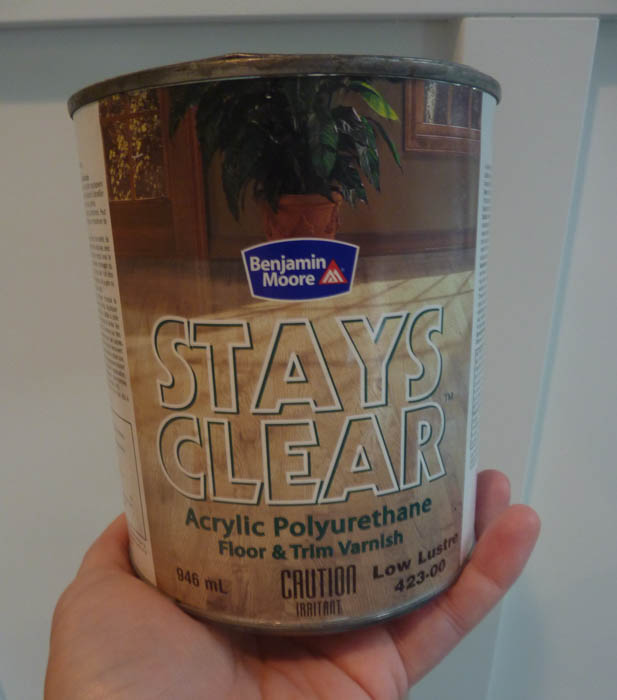 Flip the cart over and measure/mark where the holes for the castors should be. Predrill these holes.
 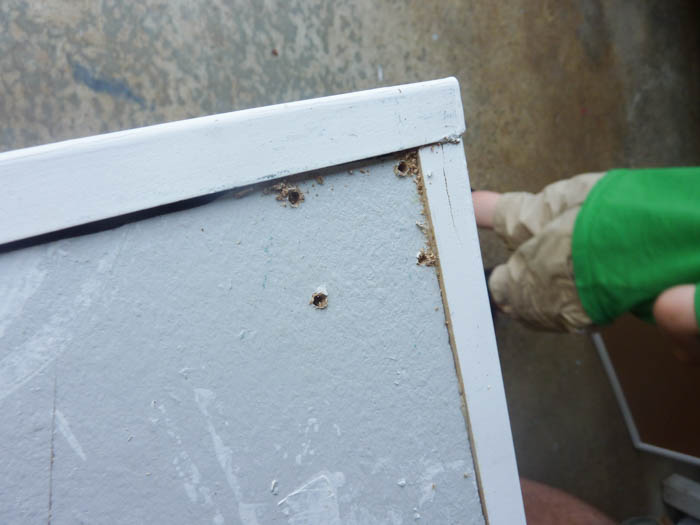 Screw in your castors…
 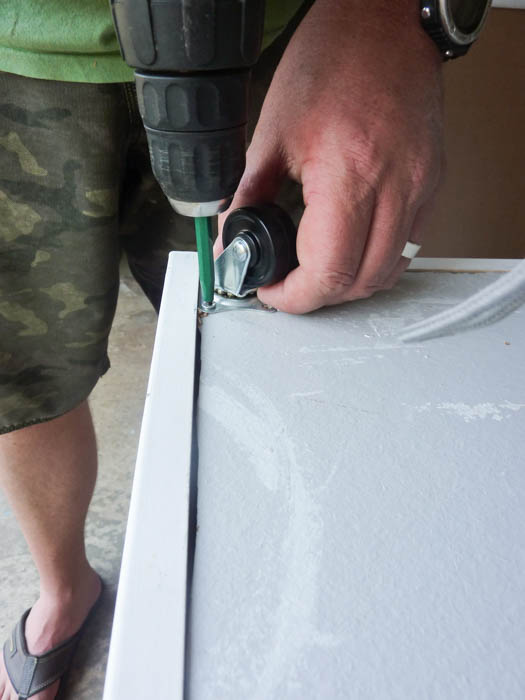 Done!
Done! 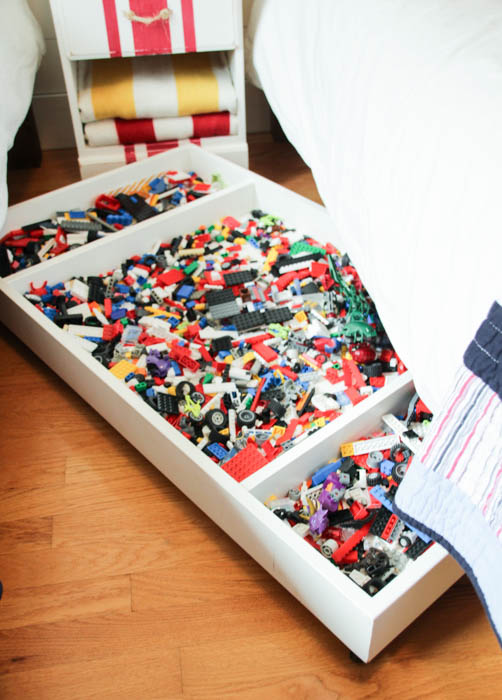
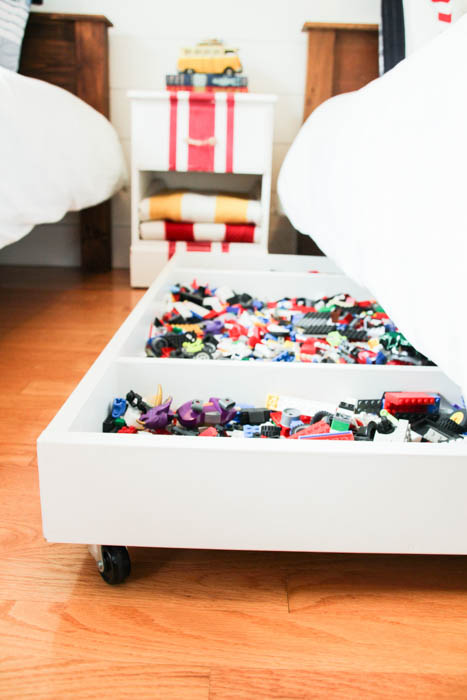 The boys room is, admittedly, rather tight… but they don’t seem to mind the tight space for playing with their lego in. Maybe it is kind of cozy? We actually have a second cart (that my Dad made as a surprise after I mentioned that we wanted to make a rolling cart…) – and we use the second cart for storing the finished lego structures that they don’t want to take apart quite yet. It lives under the other bed. This system makes it really easy to keep the lego in one place, and truth be told we aren’t picky about having it perfectly organized by colour etc. Of course, I would love that… but I know I am the only one who would care and it would soon be all mixed together again. C’est la vie.
What do you use to organize Lego at your house? Do you use the space under your beds for any storage?
I always love hearing about new organizing ideas! And today, the rest of the fab bloggers taking part in BOY MOM MADNESS are sharing their Boy Organizing Ideas. I can’t wait to see what they have in store!!

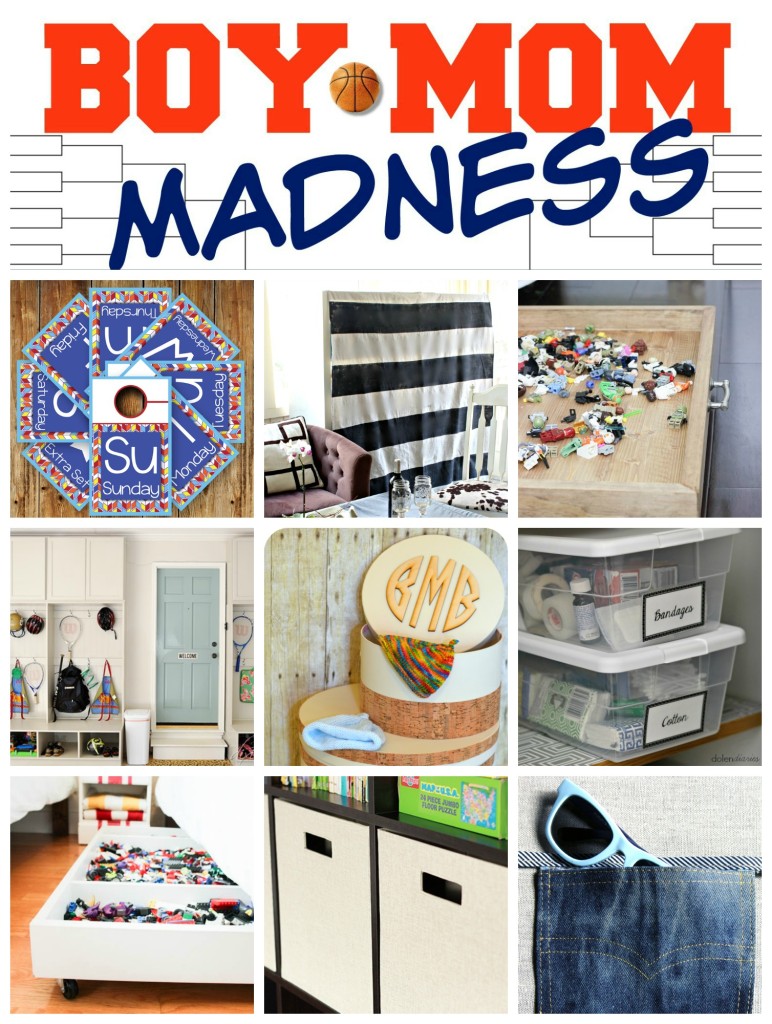
Being Bianca / Beneath My Heart / Blue i Style / DIY on the Cheap / Dixie Delights / Dolen Diaries / Girl in the Garage / Just a Girl and Her Blog / I Should Be Mopping the Floor / Southern State of Mind / The Happy Housie
And just in case you missed it, did you get a chance to see the whole REVEAL of our Boys’ shared bedroom space?

![]()
![]()
![]()
![]()
![]()
![]()
![]()


We totally used your plans for our new Lego nook in our playroom. It was super helpful! Hope you don’t mind that I shared your link on my blog post: https://practicalperfectionut.com/lego-storage-ideas/
Fabulous!
Wowww tanks for this great idea. I’ve done 2 boxes for my son and he love it. Really easy now to store and use his legos.
Thank you for not incorrectly calling them “Legos”.
This is such a great way to organize and store legos and toys! Love it!
Hi, Krista ~ I love this project! My son is a teenager, and he STILL gets his Legos out on occasion. He does a pretty good job of cleaning up, but he always misses a few. And it never fails…I find those with my bare feet. :0) Maybe he needs a Lego rolling cart? Thanks for sharing how you made this. It’s going on my “Projects To Do Soon” list.
Sooooo smart! Agree with you – Legos are a double edged sword and it is amazing to see where they wind up around the house! Love this idea for organizing! xx, b @ being-blanca.com
Excellent idea Krista! Wish my Lego fanatic son would have had something like this when he was young. We lived with stacked totes that were always in the way.
Great idea! I don’t have little ones but it would work great under my bed for much needed storage too.
love this! we are in the process of getting sawyer’s legs organized… our problem is that we have so many built pieces that need to stay together and limited shelf space.
Hi Cassie! Yes, my boys are still at the point where they don’t care about saving too many of their creations – we made another similar cart that lives under the second twin bed and they can keep their lego constructed on it. My nephew has about ten zillion kits that are all built into gigantic star wars structures and he refuses to take apart anything, so I totally understand the issue!! I’ve been trying to help my sister-in-law figure out a solution:) I pinned some cute ones – like narrow display ledges for all the lego guys. What about some extra shelving inside the closet?? Little boys hang so few items…