
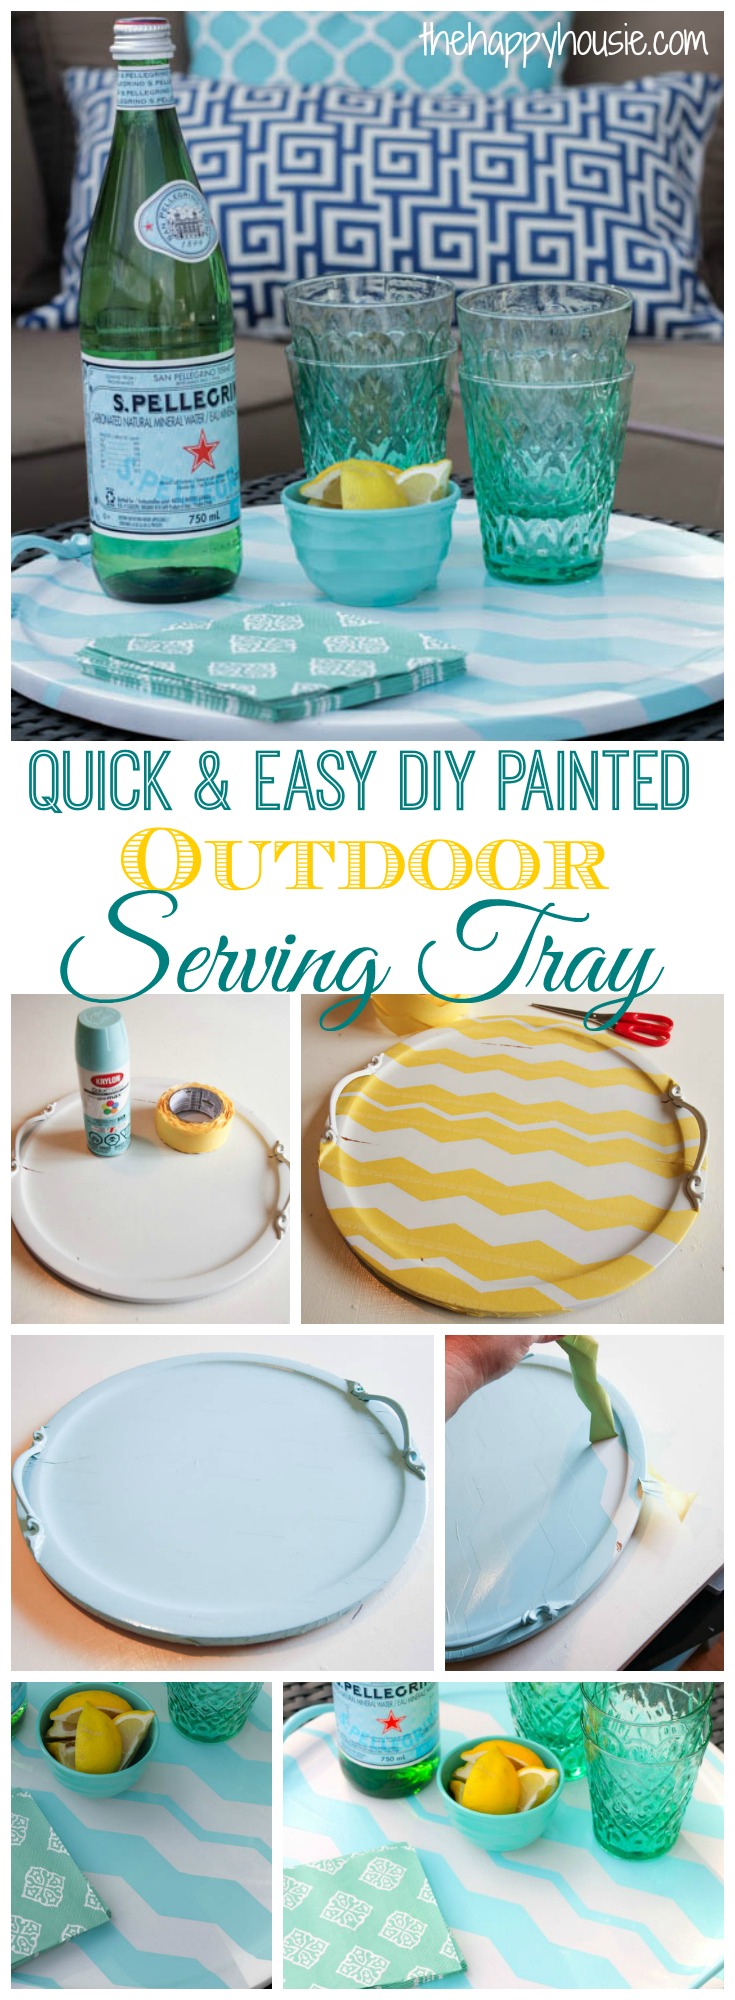
Quick & Easy DIY Painted Outdoor Serving Tray
May long weekend is over and the weather around these parts is heating up this week to 26 degrees C {that’s about 79 degrees F)!
Summer is definitely well on it’s way.
The deck has been washed, the deck furniture is out… and I have been busy plotting about pillows and decorative accessories.
I can’t wait to share some of the big changes we have made to our deck setup this year. We actually bought some furniture that did not involve a garage sale. The new stuff is such a HUGE step up in comfort that I find it hard to drag myself back inside once I sit down to relax in the evening.
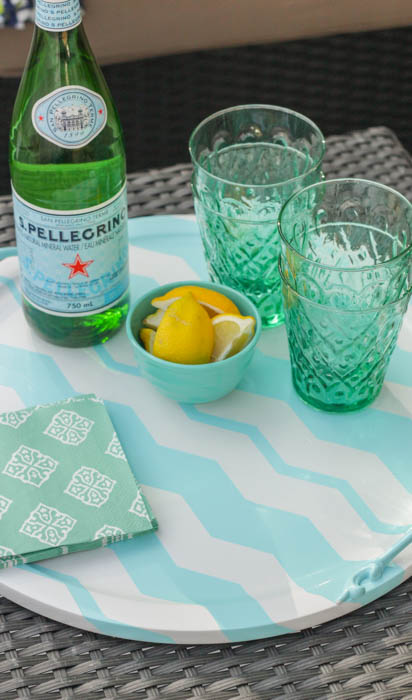
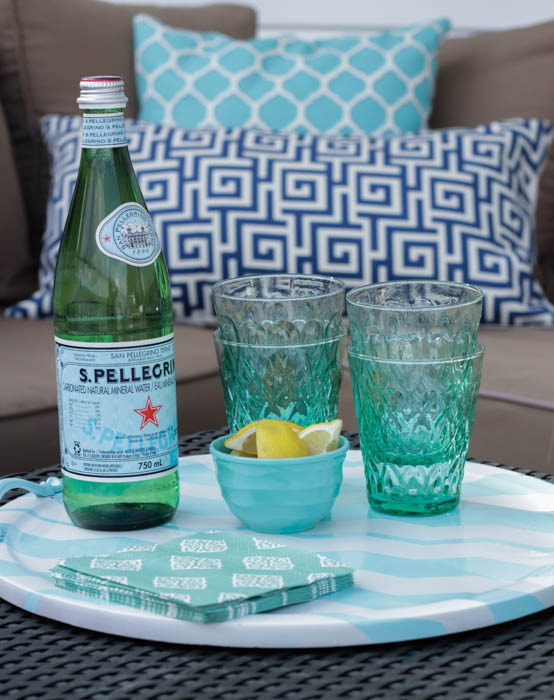
So why not just bring dinner and snacks outside instead? This quick & easy DIY painted Outdoor Serving Tray is the perfect way to bring outside all your necessities – so you don’t have to leave the deck before you absolutely HAVE to.

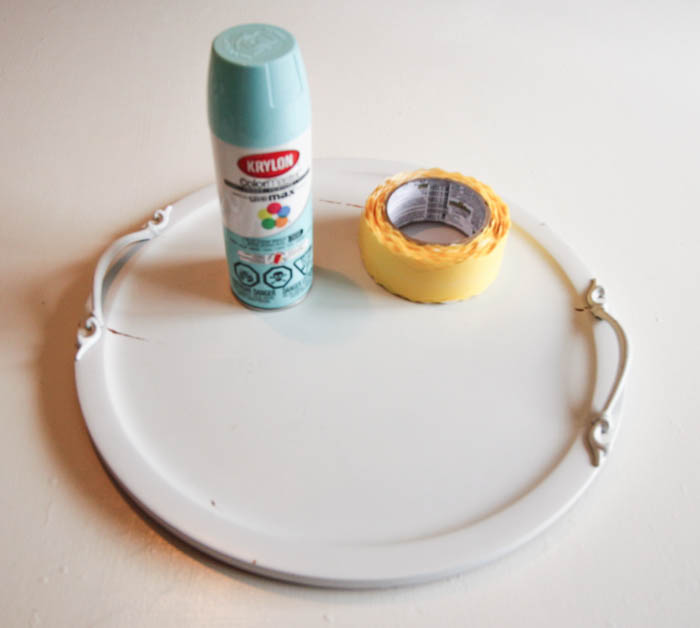
To make this tray, I got to experiment with something I have been wanting to try for a while. Frog Tape shape tape. I used their Chevron Design tape, as well as an old tray that was a garage sale find, and some of my favourite beachy blue Krylon indoor outdoor spray paint. You may remember this from last year when I redid my thrifted outdoor dining chairs with it?
If you don’t have an old garage sale tray, like I do, you can make your own with a piece of wood and some handles- both of which you can pick up at your local hardware store.
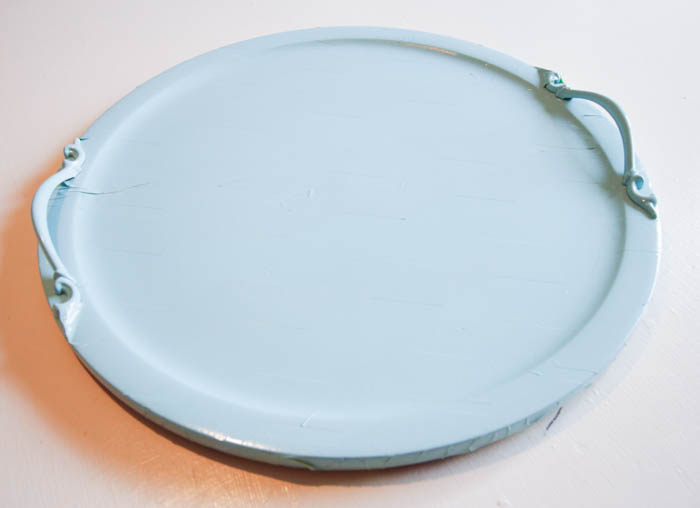
First tape out your design. You could do a base coat first in a colour like white. May tray was already quite white and I decided to just touch up the little bits that needed it after doing the blue chevron design.
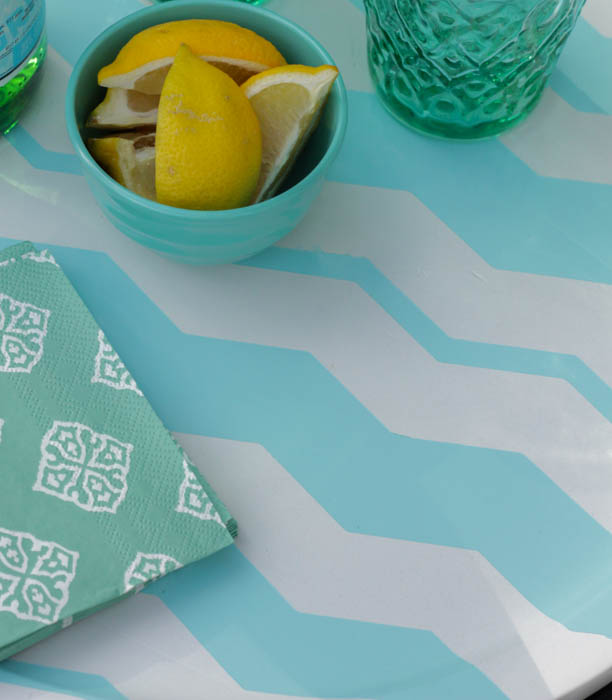
I decided to lay my tape out a little bit irregularly. I thought it would create a more interesting chevron-ish design, with some of the zig zags closer together and some of them different sizes.
Doing it this way also makes it much easier because you don’t have to carefully measure the space between your tape. You can just eyeball it.
And easy is always good.
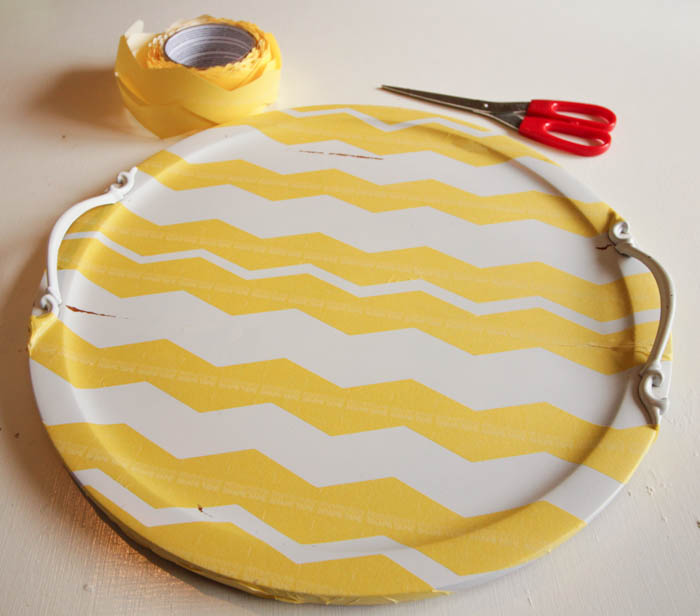
Once all my tape was on, I made sure to press it down securely with my thumbnail to ensure that the paint wouldn’t bleed through. I have seen people use a credit card for this task as well. Then I took it outside and in a safe area, away from anything important, I gave it a few coats of my beachy blue.
After letting it dry for a couple of hours (you could wait less, but I went and made dinner etc. in between), then I peeled off the tape and was left with the chevron design…
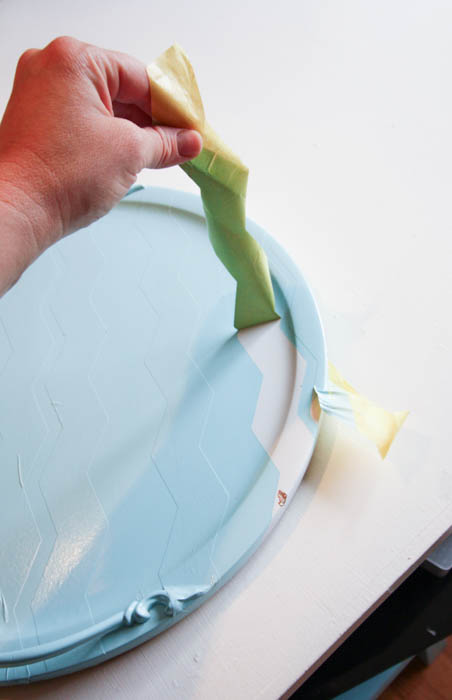
There were a few spots where the paint bled through a slight bit but I scraped those off using my finger nail. I also touched up a few bits of white by spraying some white spray paint into a little dish and then dabbing it on with a brush.

Done! I’m thinking I would like to give the whole piece one extra finishing coat of a clear outdoor sealer, but I haven’t done that quite yet. I do plan to keep this tray inside most of the time, and use to transport goods out to the deck as needed.
![]()
I love how the different widths of chevron turned out? And did you know that Frog Tape actually makes this stuff in different designs? (this is not a sponsored post in any way, I just think it is a pretty cool product).
Think you might want to try something similar?


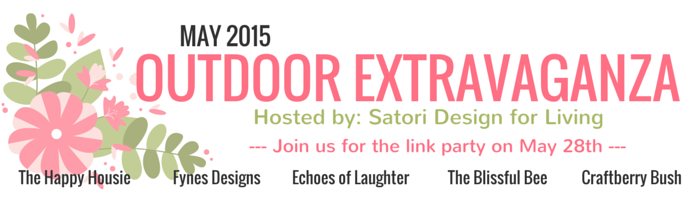
Are you ready for a little more Outdoor Decorating and Entertaining Inspiration? Check out the AMAZE-ing-ness that my fellow Outdoor Extravaganza friends have put together for today’s theme… Do these look amazing, or what?!?
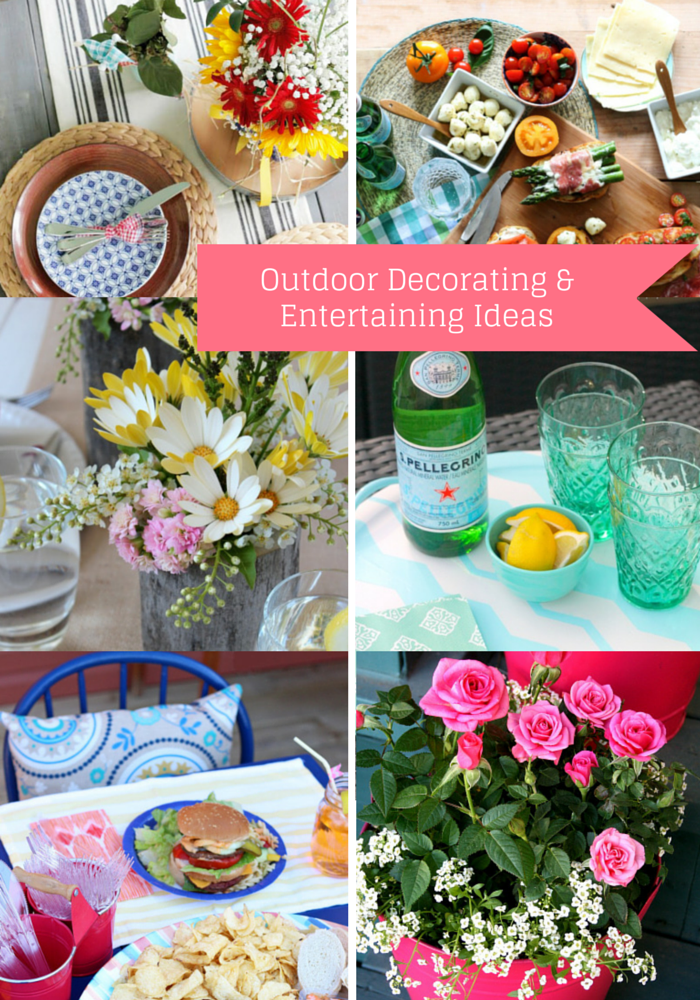
A Texan Tablesetting by The Blissful Bee
Summer Crostini Bar by Craftberry Bush
Country Garden Party Table Centerpieces by Satori Design for Living
(You are HERE!) DIY Painted Outdoor Serving Tray by The Happy Housie
Hosting a Last Minute BBQ by Fynes Designs
Fresh & Fun Front Porch Decor by Echoes of Laughter
Next Wednesday I will be back with one more outdoor project- the next theme we are tackling is “Build & Paint Projects”.
I’m not gonna lie. I have a few options. None of which I have started yet. This could be interesting:)
And if you are a blogger, don’t forget that next Thursday we will be back with a link party – we can’t wait to see all of your amazing outdoor ideas!

![]()
![]()
![]()
![]()
![]()
![]()
![]()
That blue colour is perfect! So summery!
Love me a good garage sale fix up! Your tray looks fresh and fun. Sounds like you’re having some amazing weather already. Ours is just getting started.
Very cute, and so easy to do!
Such a cute tray! The colors are so summery 🙂
Such a pretty tray and I loved the colour! I used that tap last spring for some flower pots and it is fabulous for jazzing up plain stuff! Have a lovely week! Angie xo