
Faux Mantel Cabinet from an Old China Hutch using DIY Chalk Paint
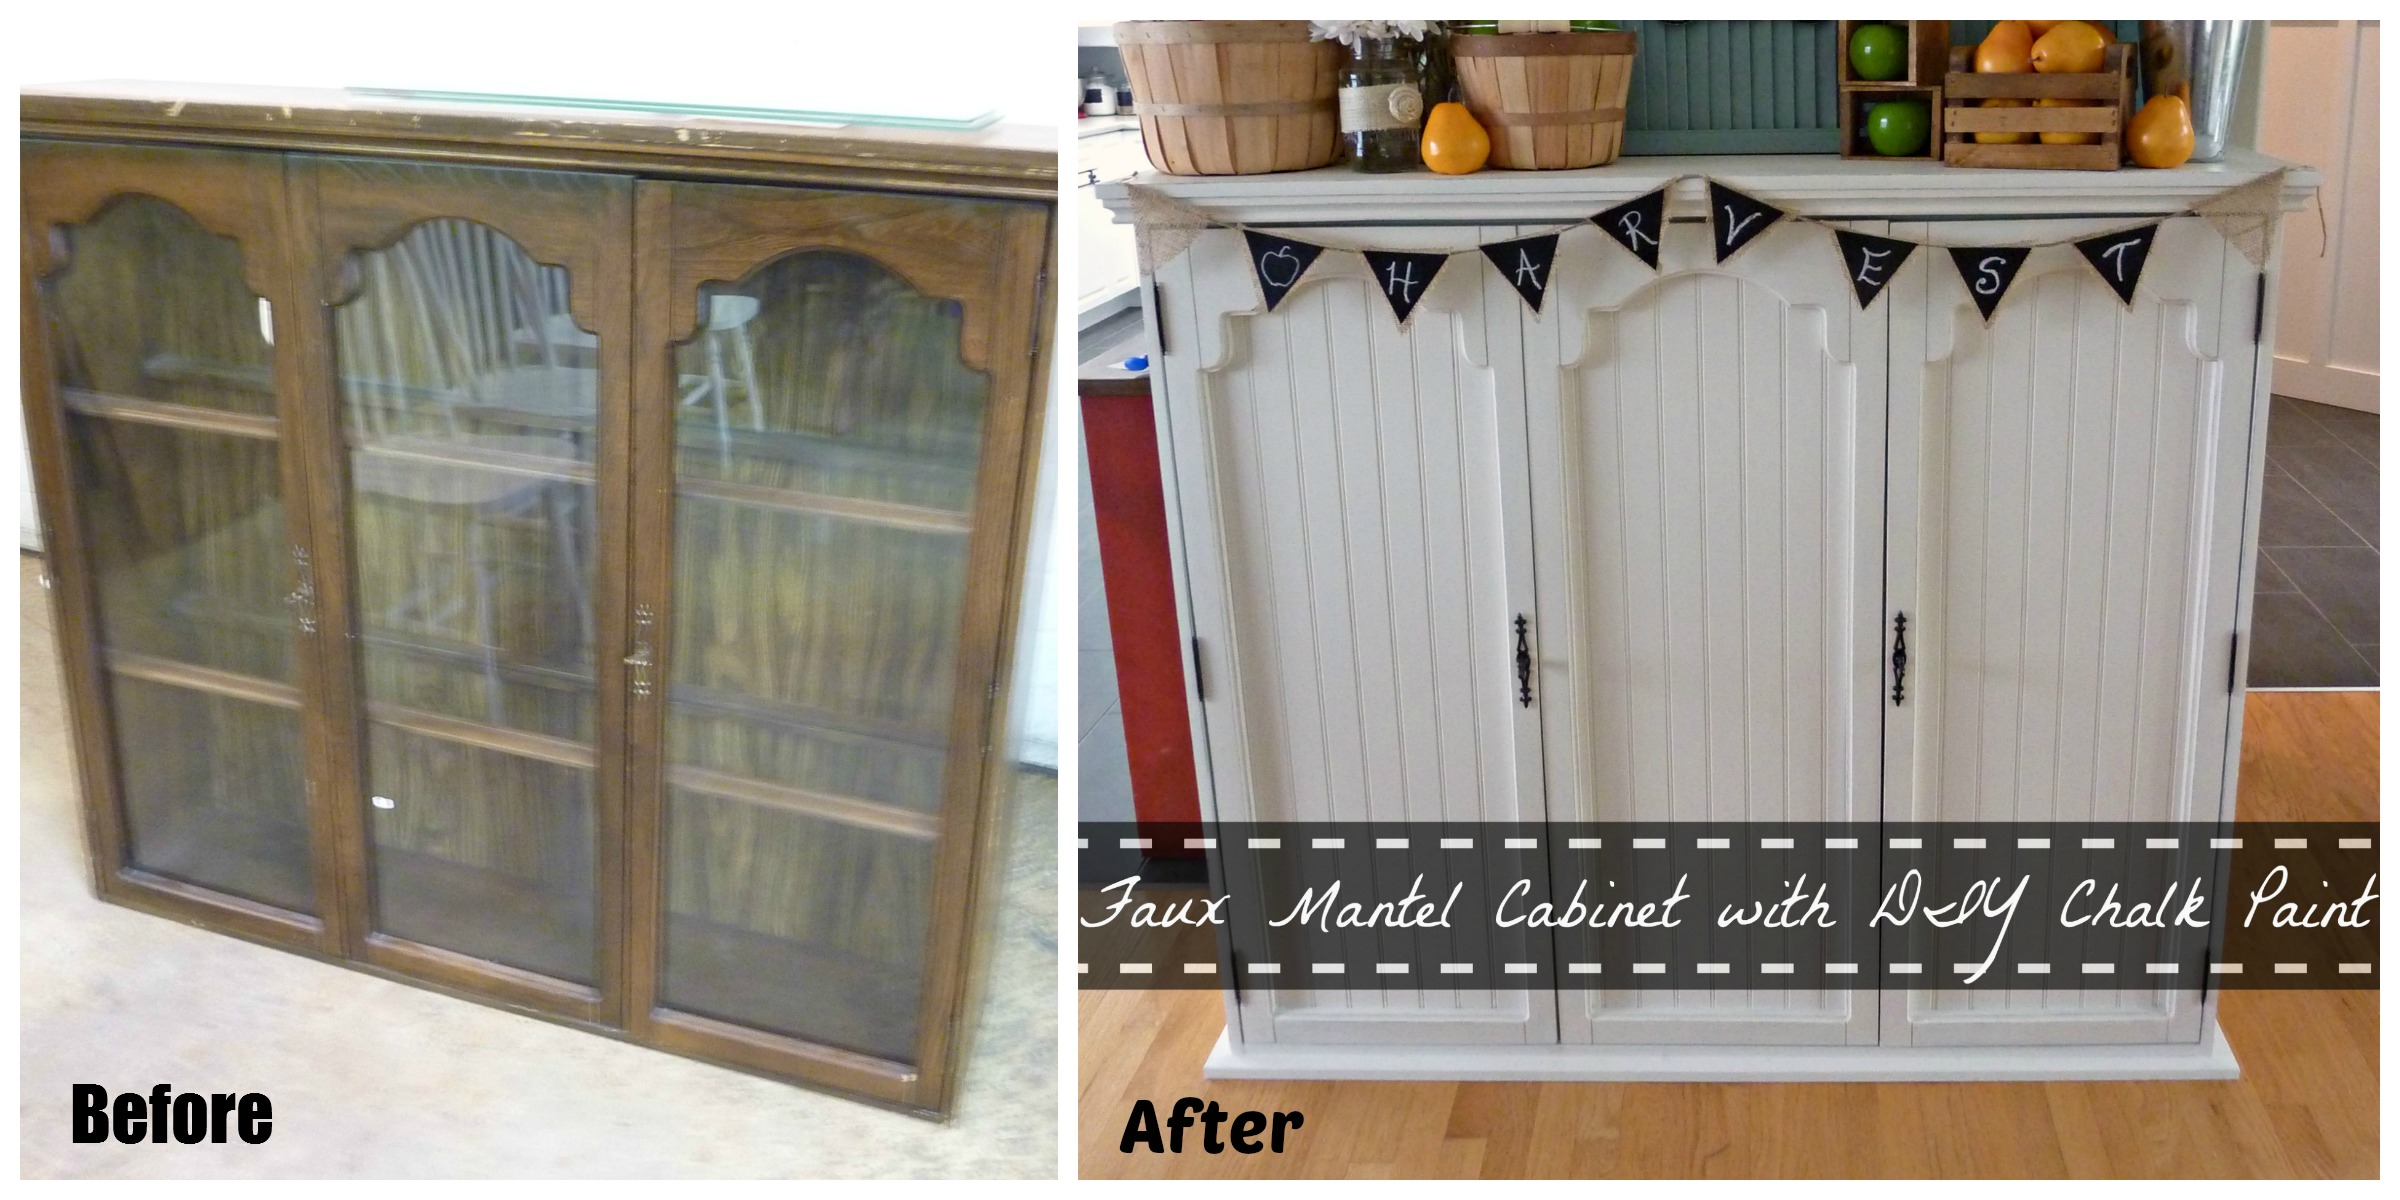
Hello everyone! Do you know the faux mantel that I have been crazily decorating for each micro-season in my fit of excitement about finally having a mantel? Well today I am so excited to fiiiiiinallllllyyyy show you how we made it out of an old-seen-many-a-better-day- top half of a china cabinet (hutch) and a little DIY Chalk Paint.
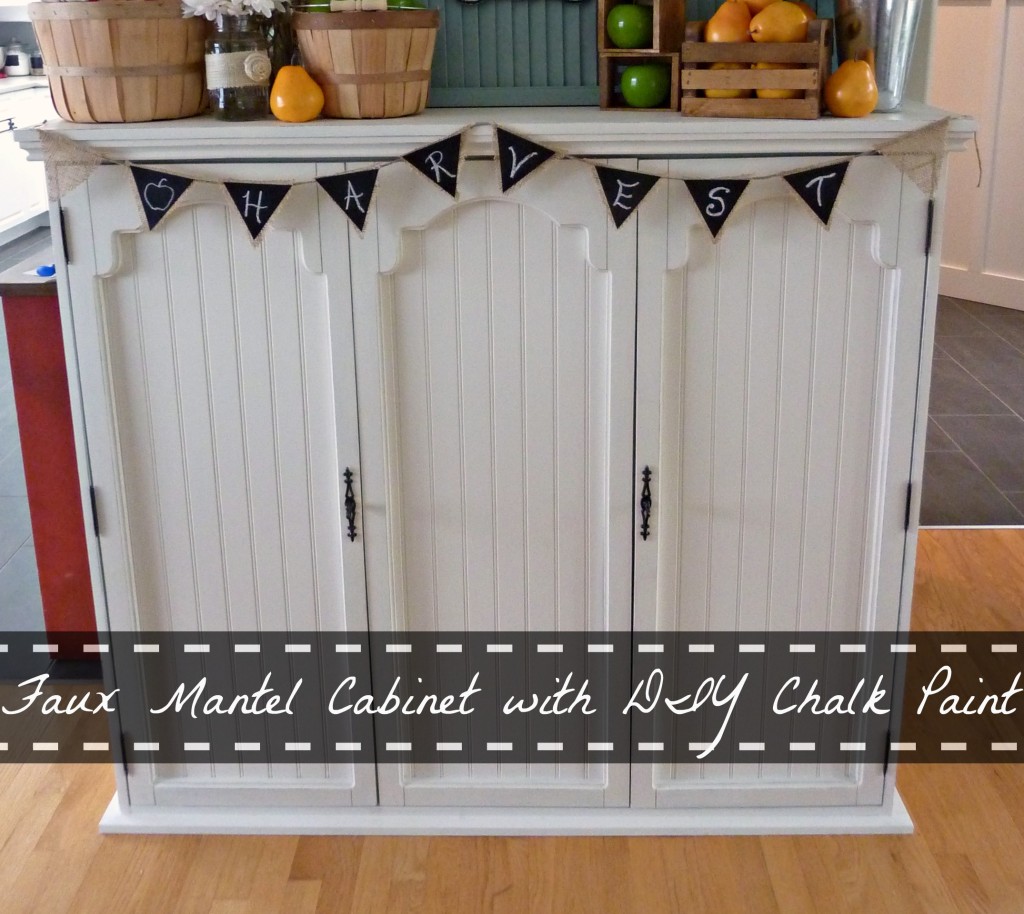
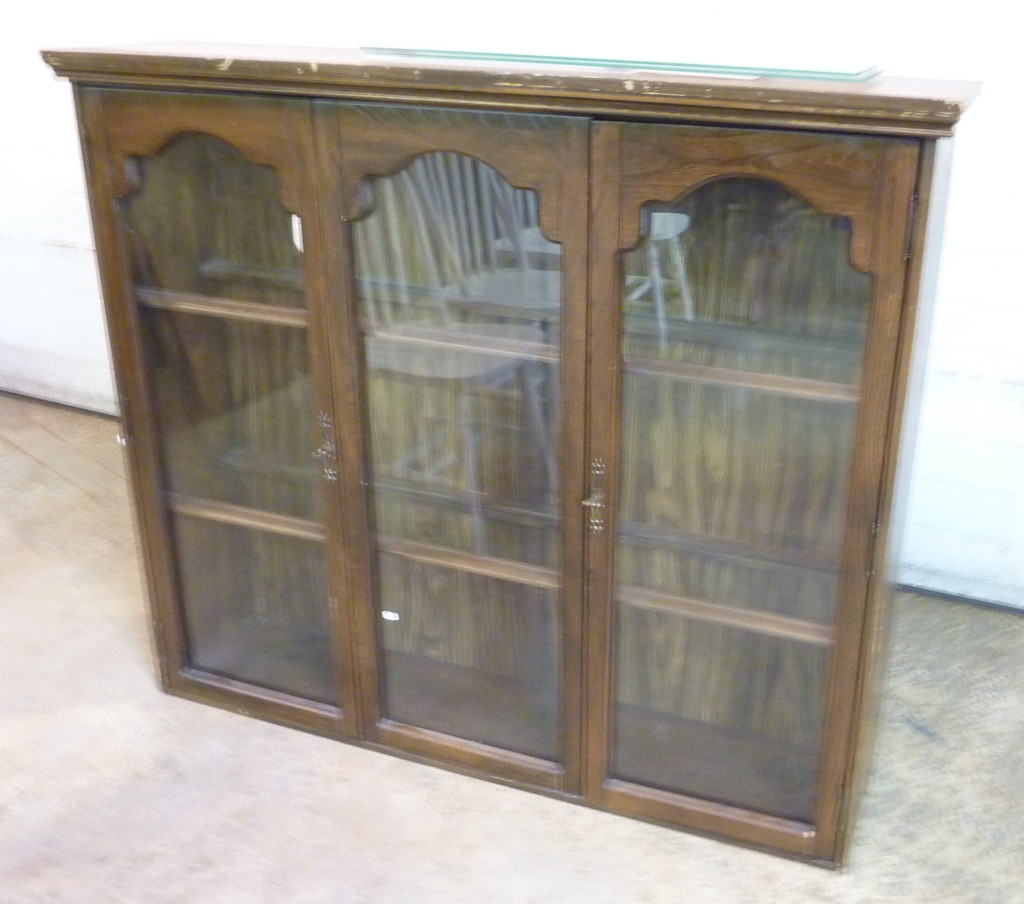
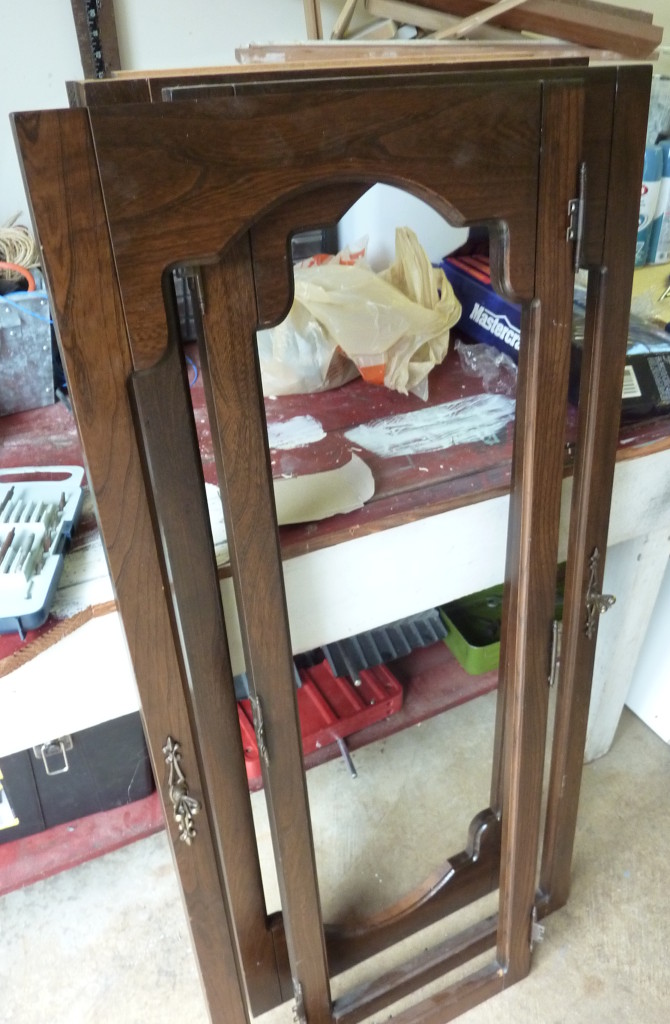
This baby is my new favourite little thing in the house (though of course I still yearn for a real fireplace mantel one day)… but it was pretty hurtin’ when I picked it up from the local Sally Ann.
We started by removing the doors…
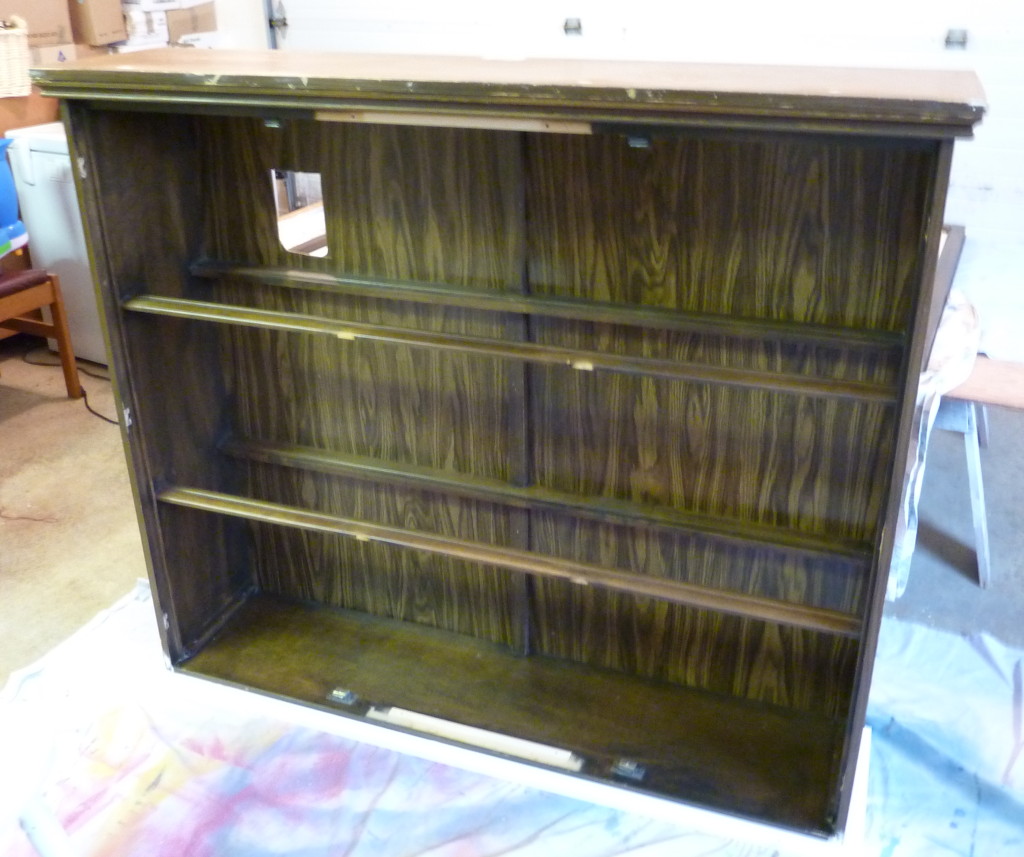
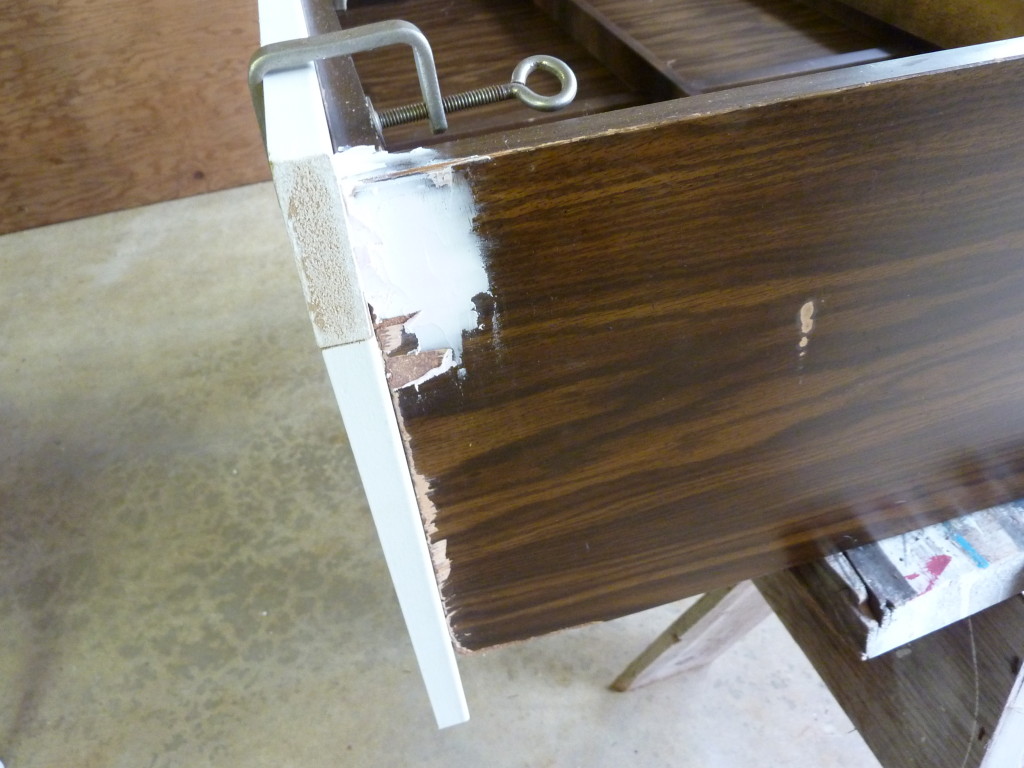
Look at all that horrid fake brown wood…
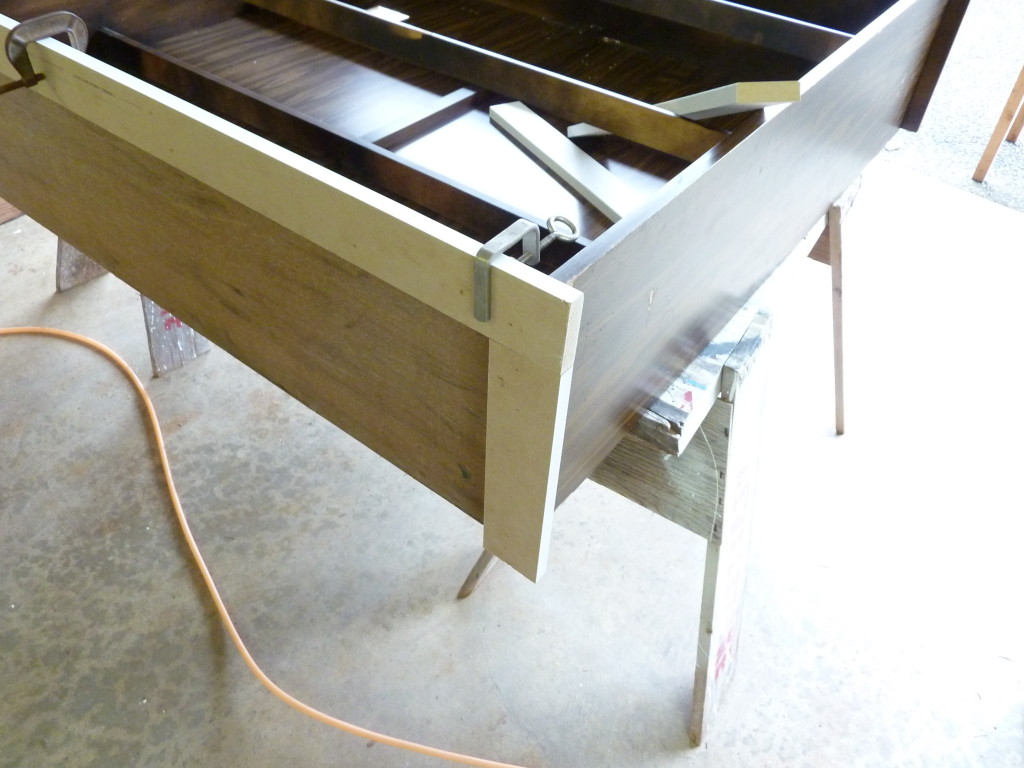
Next we built up the bottom with some MDF pieces so that it would stand on a base piece – we just glued these on and clamped them until they set.
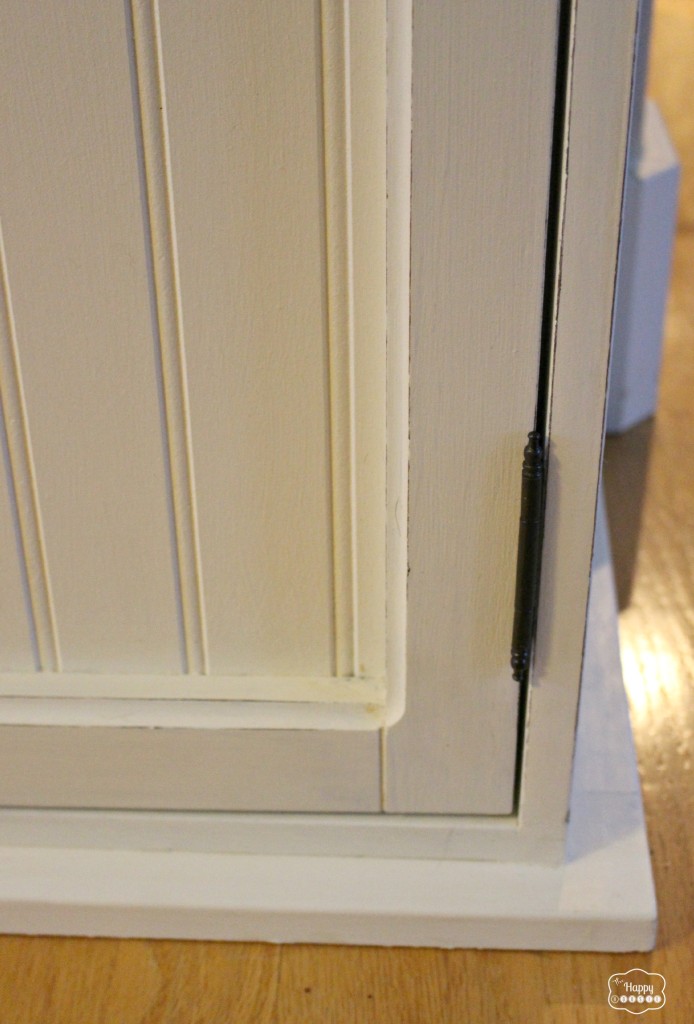
We also removed the glass from the doors…
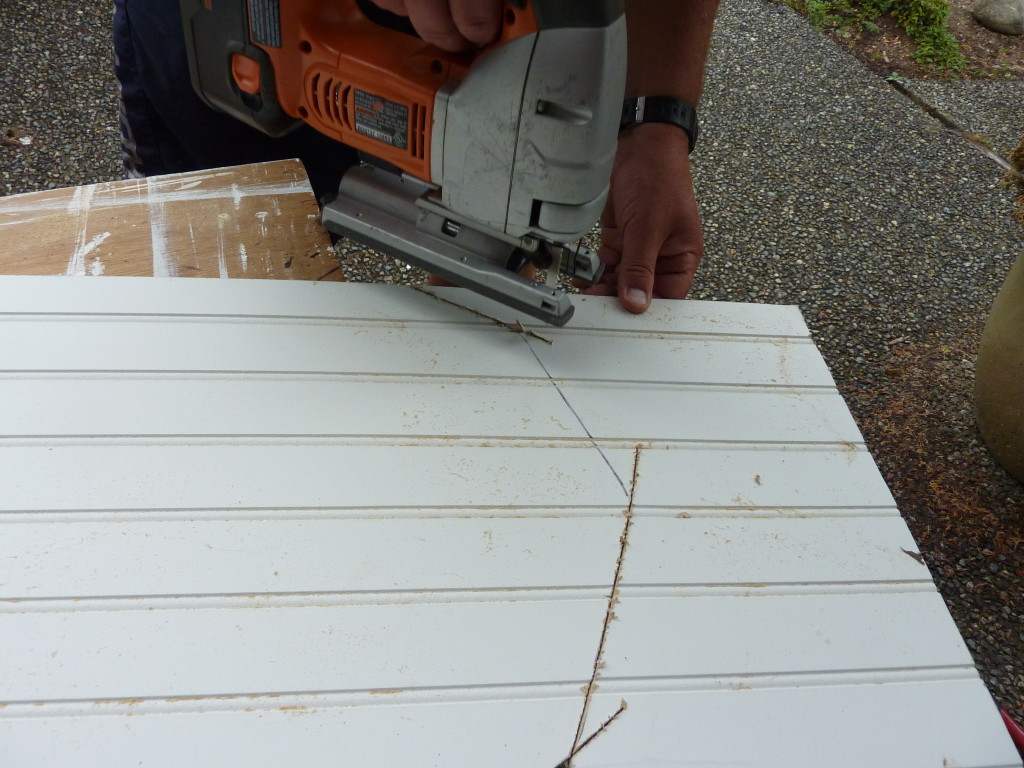
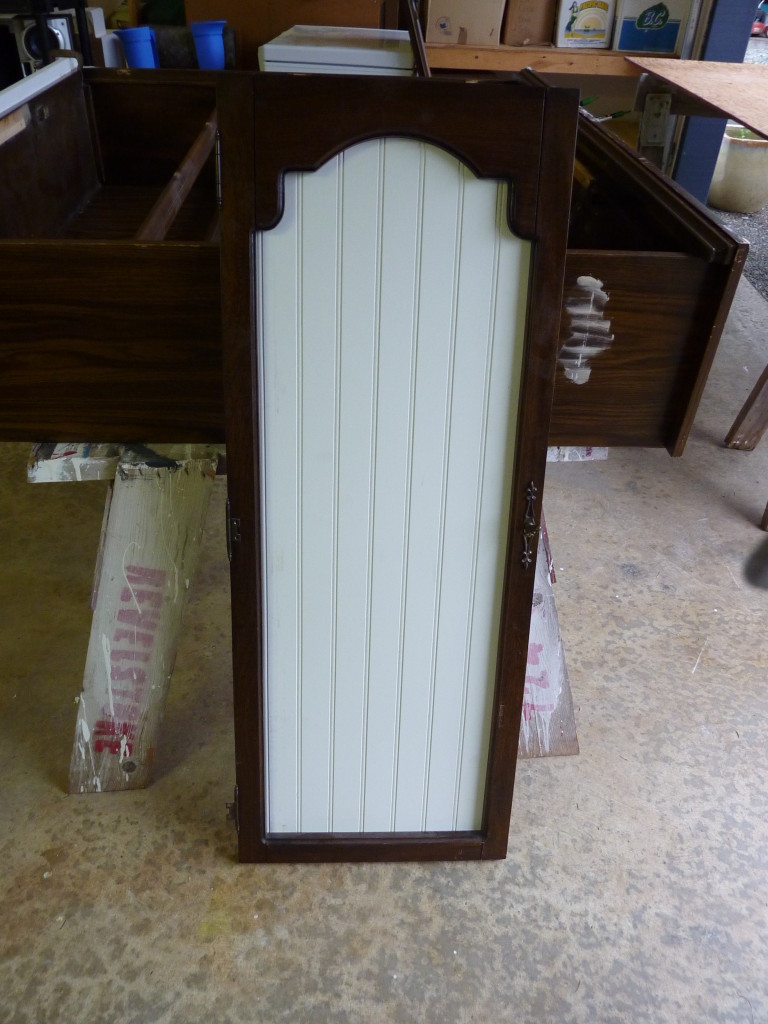
And we used the glass to trace the shape and then and cut wainscoting sheet panels as new inserts for the doors…
They slid right in and were held into place by the same clips that had held the glass before…

Next we filled the damaged areas with some Drydex…
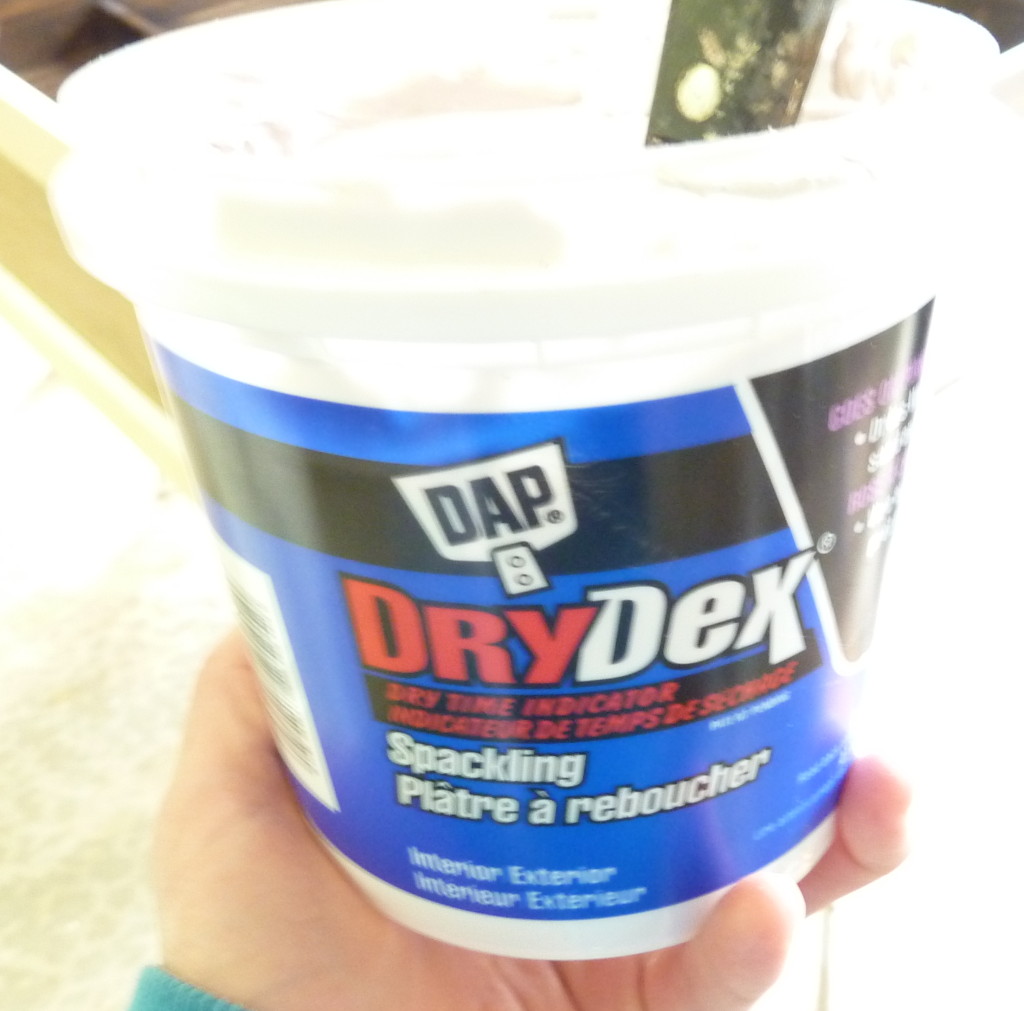
You can see it was fairly damaged on the sides near the bottom- but nothing that a little drydex and paint couldn’t fix.
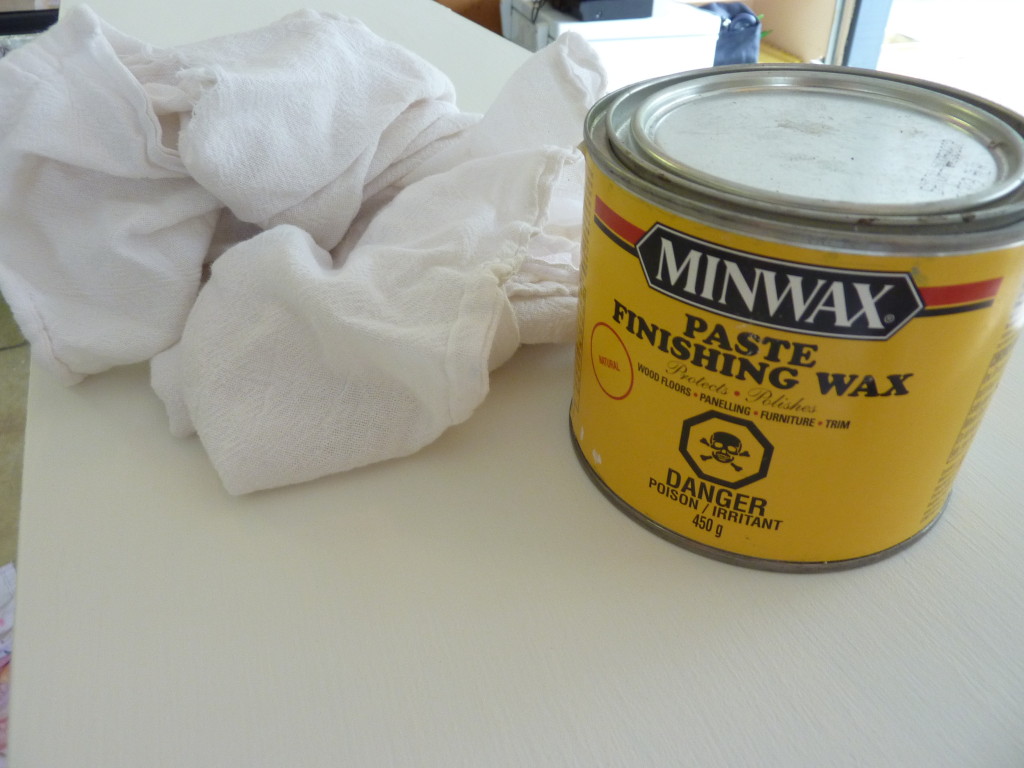
I whipped up some DIY chalk paint using Benjamin Moore’s Cloud White and this recipe…

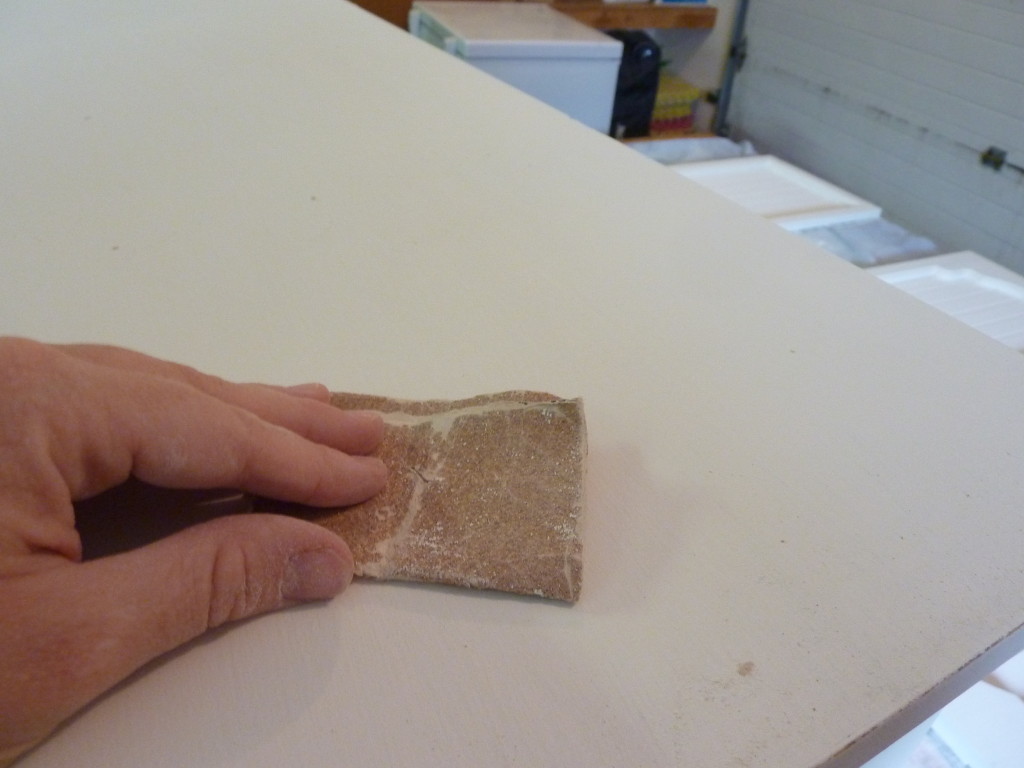
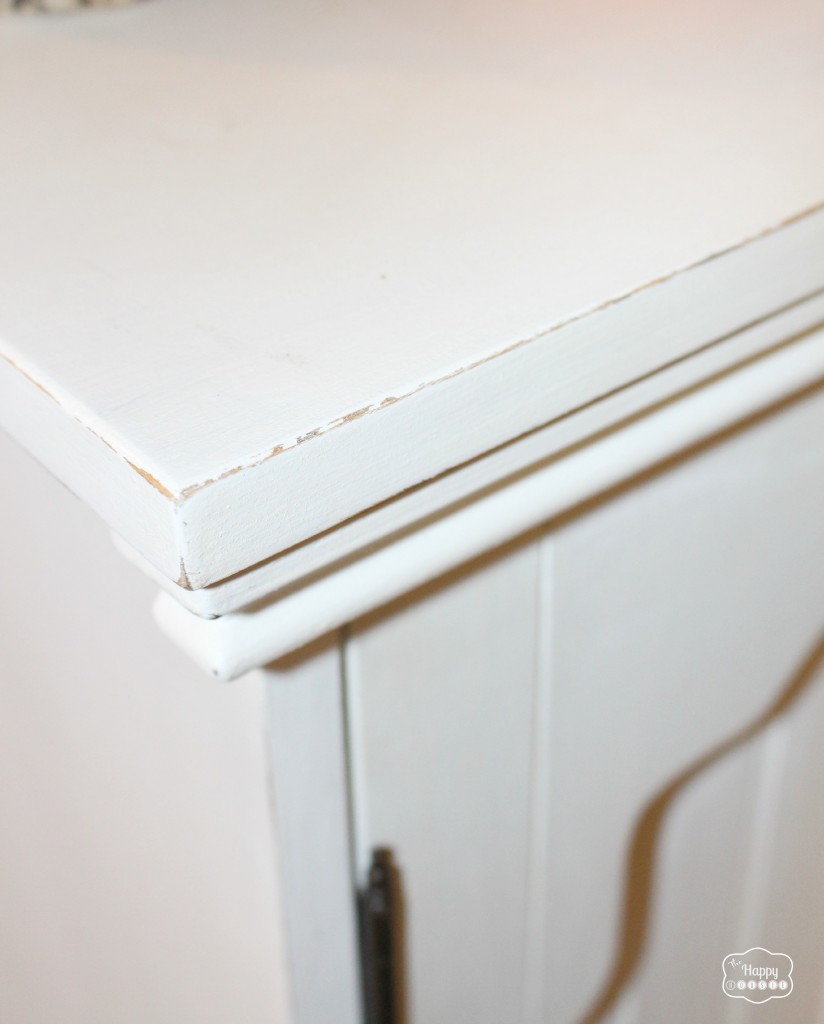
I gave the cabinet three solid coats of the DIY Chalk Paint, and then sanded it down and distressed it…
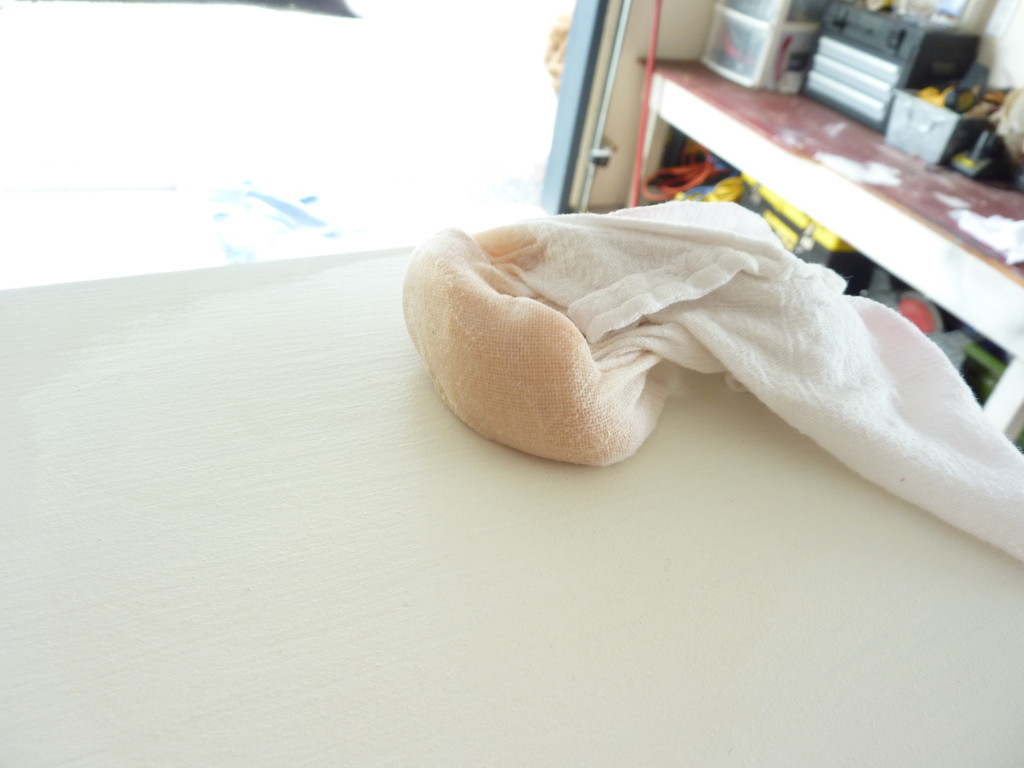
Lastly, I used a clean (lint free) cotton rag to wax the whole piece….
This time I put a big ball of wax in the middle of my cloth and then rubbed it all over the piece. I let it dry a few minutes and then lightly buffed it off with a clean part of my cloth.
Overall it looks fairly solid white but when you look closely you can see the edges have been distressed… I wanted to do this because the piece was already a little aged and damaged so I thought it best suited a distressed finish.

The Before and After:
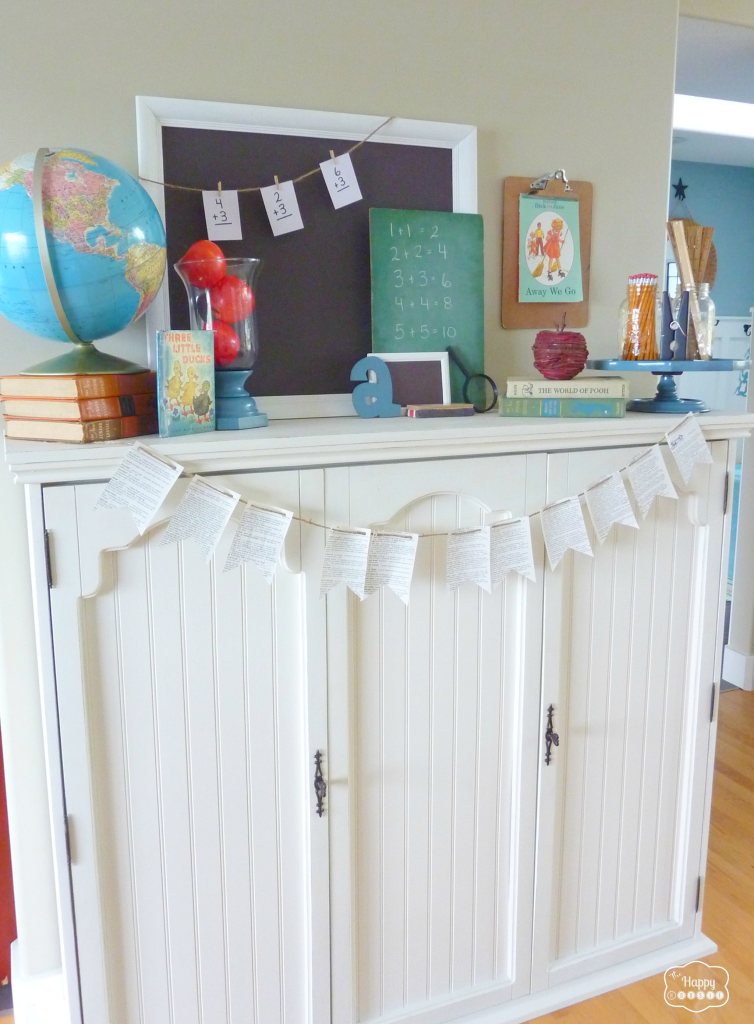
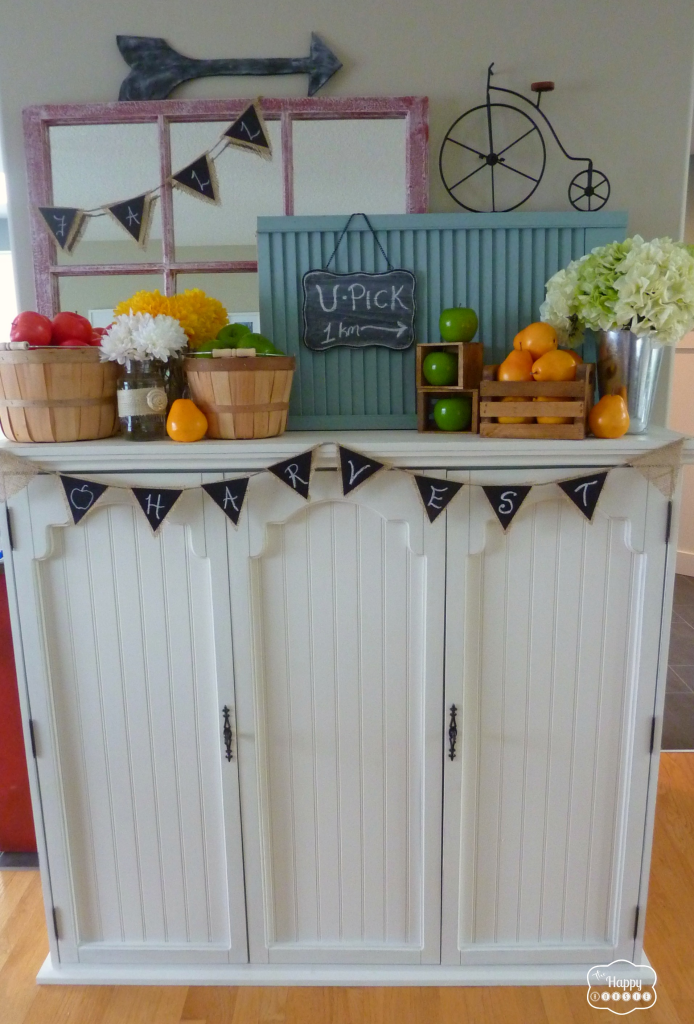
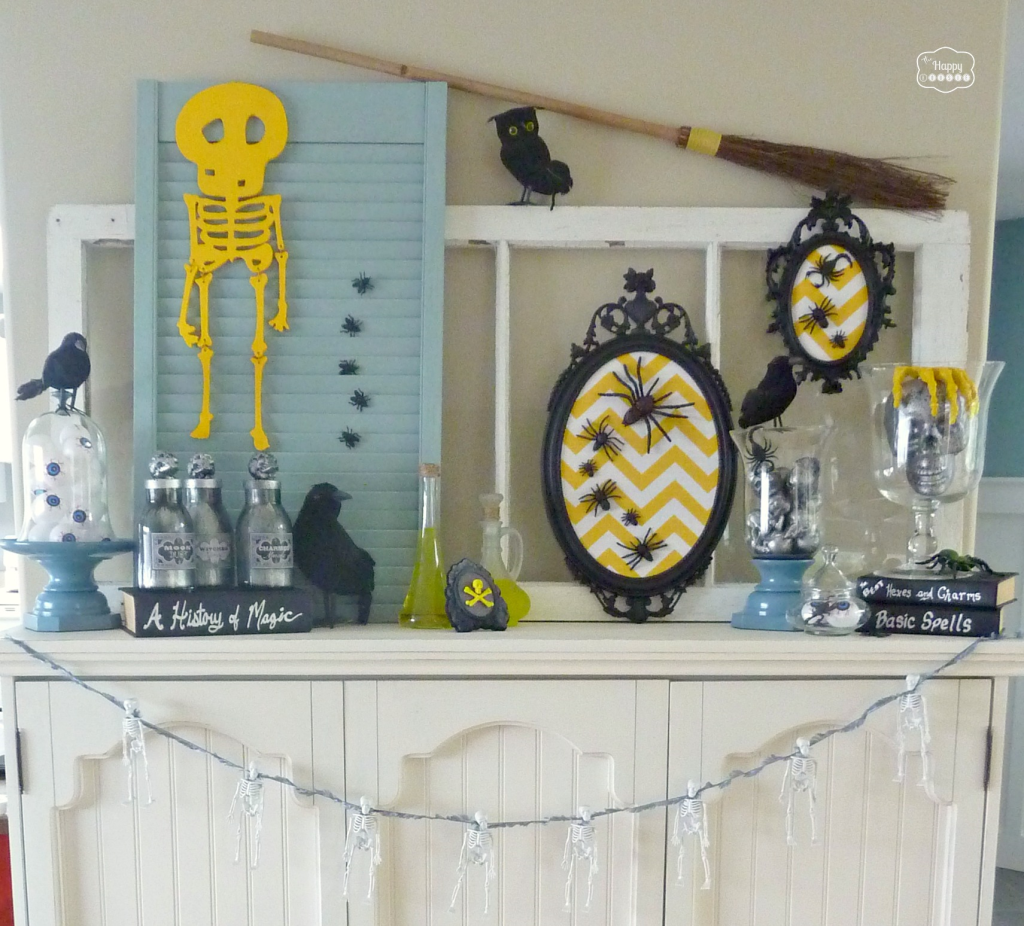
You may have seen our faux mantel decorated a few ways already…
such as our Back to School Mantel.
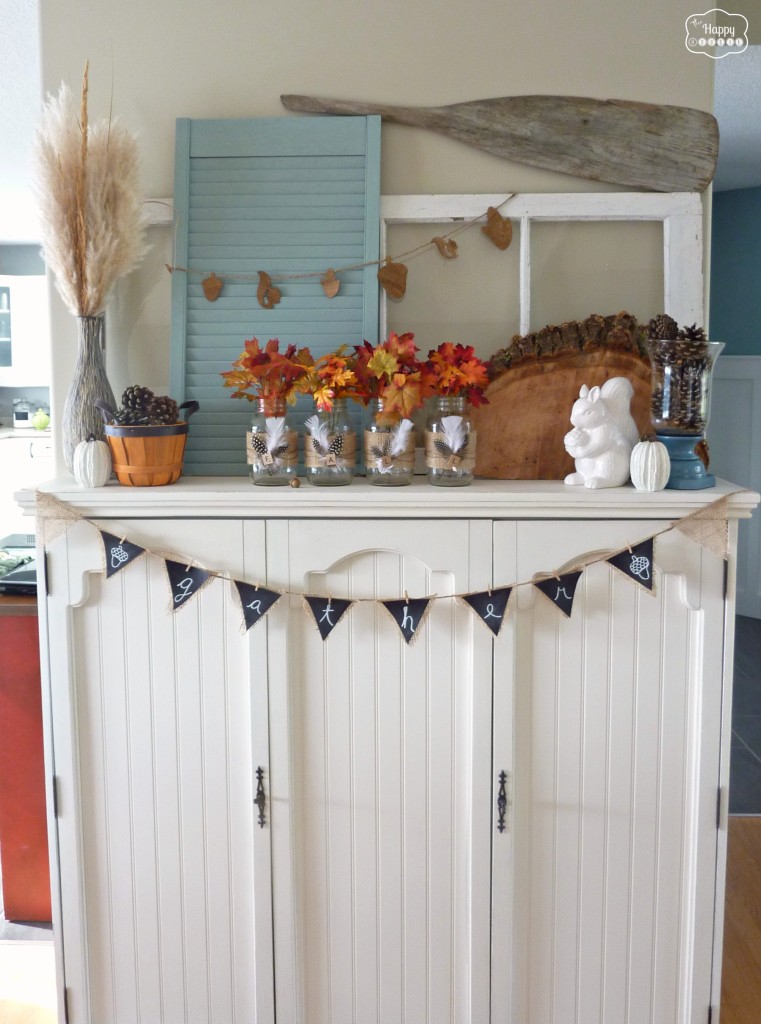
and most recently the Late Fall Mantel
So is decorating a mantel four different ways in the three months that we have had it excessive? Actually, maybe don’t answer that.
This is my furniture transformation for the Get Your DIY On Challenge this week. I LOVE a good furniture transformation – you should check out the amazing projects that my cohosts have done!

Head over to their blogs to see more details- I know I can’t wait to see how they did what they did!!
Zebra Chair Makeover by Mandy at The Hankful House
Fun Kids’ Craft Table Makeover by Abby at Just a Girl and Her Blog
Dresser with Fabric Inlay by Christy at Confessions of a Serial Do-It-Yourselfer
Console Table Facelift by April at House by Hoff
I absolutely can’t wait to see all of your awesome furniture transformation this Sunday – come back to share them at 4pm PST or 7pm EST. Like I said – they are often my very favourite projects!! I have done a few other ones around here.
Check them out under my Projects Page!
Thanks for reading. And remember my housie friends, HOME isn’t built in a day. Enjoy the journey.
And don’t forget to enter the Giveaway for $250 Cash that is going on right now here!

I may link up at some of these fabulous places below, for more info check out housie parties:
Make the Scene Monday , Monday Funday , Give Me the Goods Monday , Inspiration Monday, Craft-o-Maniac Monday, Nifty Thrifty Tuesday, Project Inspire{d} , Inspire Me Tuesday, The Scoop, Wow Me Wednesday Whimsy Wednesday , Fall Into Fall , From Dream to Reality, The Inspiration Exchange, Live Laugh Rowe Live Laugh Linky, Thursdays Are Your Days, The Weekly Creative , The Creative Connection, Inspire Me Please, Fabulously Creative Friday, Party Junk, Pinworthy Projects , Link Party Palooza,, Weekend Bloggy Reading, Strut Your Stuff Saturday, Spotlight Saturday, Get Schooled Saturday, Overflowing With Creativity , , Suburbs Mama , That DIY Party


I know this post is a little old but I’m about to use this method on some finished pine furniture. It’s a rather large project as I’m doing a bed frame, 2 small night stands and a dresser and I wondered if the paint will keep if I mix a large quantity all at once, or is this something I should mix as needed as I go?
Hello Liza! I have made up more then I immediately needed before and then stored it in a sealed plastic container (like an old yogurt or margarine tub). Just be sure to blend it again very thoroughly when you go to use it the next time – I would just stir it thoroughly with a spoon and found that to be enough. Good luck with your project- sounds like it will be quite the makeover!!
Awesome! Thank u so much for the reply. I’m hoping to get started this weekend!
Good luck with your project Liza!!
How funny.. I have in the back of the pickup a china hutch I picked up this am at the Boys and Girls Club Resale Shop. Hubby could not see what I was seeing .. I wanted it for the bathroom we are redoing. I was thinking mirror in the 2 end pieces. However, I may use beadboard now lol Thanks for the post.
Sounds like a great reuse of an old hutch- good luck with your makeover!!
Oh, Krista, you did a fabulous job on this piece! It looks like something you’d buy in a furniture store for $1000 bucks or more! I would love to have this for my sewing room…just think of all the goodies you could store behind those doors. *Saw this just this morning on Roadkill Rescue. Loooove it and I’m a new follower of your blog.
Hi Kathy! It would be a fabulous sewing room piece because of the depth (it wouldn’t stick out too far in the room) and there are three shelves inside that run the full length- I use it to store all my unused display items for the top of the mantel… I love storage pieces so this is great double duty for storage and display! So thrilled you came by and that you are following along! Yay!!!
Great job. However, the most impressive thing you did was putting that wax into the middle of the cloth ball. What a brilliant idea — French Polish on steroids. I’m always looking for technical advice and this one is really smart. All you have to do is put the pouncer into a Ziploc bag and it’ll be ready for the next project with no waste.
Hi Peggy! It only took me waxing several pieces to figure that one out… and I love your idea of wrapping it up in a Ziploc to store for next time! Thanks for improving on it for me, that is definitely what I will do next time!!
Where have you been all my life?? What a creative idea for a hutch top. I see them curbside all the time! I LOVE this project and I’m sharing it everywhere.
Lol! Hi Jen!! I think a lot of people these days ditch the top and keep the cabinet on the bottom- not realizing you can reuse the top as well. Thank you so much for sharing it around- that is awesome!!
Oh. my. gosh!!! I absolutely love this original idea!! I want one! lol
Hi Misty! I bet you can find one hanging around – I was on the hunt for a faux ‘mantel’ and this certainly did the trick!
You did a great job. I have a cabinet that I need to do something very similar as this. I have been thinking punched tin or even anaglypta paper on hardboard for the new insets. But I kind of like the idea of the bead board. Gives my project at least some life anyway… one day I will actually get it done.
Hi Jill! Punched tin and anaglypta are great ideas as well- the bead board was a perfect solution for us because we had a huge sheet of it on hand waiting for a purpose!! Good luck with your project and thanks for your visit and comments!
Krista
saw this on Roadkill Rescue… LOVE the addition of the beadboard. Sharing it on my FB page today. 🙂
Hi Gail! Thank you so much for the share- that was so amazing of you and I appreciate it beyond belief!!
Brilliant idea!!! I have a mantle but I don’t have it in the room that I want. Any flat place can have a vignette and you’ve proved that! I love how you’ve decorated it for all the seasons.
Thank you! I love having the display space now!
Krista, you are very talented and creative. This was a beautiful example of repurposing something that most people would have discarded. Thanks so much for the inspiration and the excellent idea of using a bullet for mixing the paint! Will be checking your site regularly!
Thank you Nita! I think almost everything has a little potential – as the pile in my garage attests to! I don’t know if you would always need to use a ‘bullet’ but my plaster is a little old so I want to make sure it is very thoroughly mixed – otherwise you get chunks in your chalk paint and that is not ideal:) So thrilled you came to visit and thanks so much for your super kind comment!!
So cute! I love transforming furniture! So much fun! This looks great!
Thank you Lindsay!!
I love this, Krista! So creative and excellent execution. 🙂
Totally Awesome Makeover!!! Thanks for sharing it at Monday Funday!
Thank you so much Katie – and thanks for coming by to comment in person!! Have a great weekend:)
Awesome transformation 🙂 Love the mantel idea. http://www.scrapality.com
Thank you Andrea- it is so fun to have a mantel to decorate now, even if it isn’t a real one! So thrilled you came to visit and comment:)
What a great project! I love the changes through the seasons! I’d love for you to add it to my weekly link party! Hope to see you there! http://www.thelifeofjenniferdawn.com/2013/11/a-little-bird-told-me-link-party-67.html
Hi Jennifer! Thank you so much for the personal invite!!
What a fabulous redo. I love this idea. Thanks tons for linking to Inspire Me. Hugs, marty
Thank you Marty for your sweet comments and for visiting to see it in person! Have a great week: )
Thanks for sharing this charming DIY makeover at my party…I LOVE IT!!
Blessings,
Linda
Thank you Linda!! And thanks for coming over in person to check it out!! (and for hosting:) Have a great week!!
Krista,
What a great job. Love this.
Kris
Thank you Kris!
wow Krista! you did a wonderful job, what a transformation; looks like a different piece of furniture 🙂
Thank you Ingrid – that is good it looks like a different piece I think because it was pretty hurtin’ before(right?). So thrilled you came by! Have a great day!
HOLY Crapolla! You would NEVER think that was the same piece! We did the same thing with out kitchen cupboards!! Love the beadboard look! Thanks for sharing on DIY Sunday Showcase!!
I’m gonna pin this one too to our Talent Board!
Shelly
Minettesmaze.blogspot.com
Thank you Shelly!! Your awesome comments made my night – and thanks for the pin!! (and for hosting:)
Amazing! Wow! You put a lot of work into it and what a result! Very impressive~
Thank you Jenna. It was a bit of work but well worth it. Furniture projects are some of my favourite – though they do require a little more time commitment!
It looks fabulous! I love how the chalk paint gave it new life and new purpose! I’m hopping over from DIY Sunday Showcase. Have a wonderful weekend!
Thank you Carrie!! Paint is one of the easiest ways to transform something, that is for sure. Thanks for your visit!
What an amazing transformation! I love the faux mantel idea. Right now I just have a random shelf or two to decorate for each holiday. We’ll be featuring your cabinet over at Someday Crafts tomorrow 🙂
Yay!! Thank you so much Miranda – so thrilled about the feature!! I knew a real mantel wasn’t in the cards for a while so this faux one will do the trick!
This is my kind of make over Krista!! You did an amazing job!! I seriously love it, every last bit! You rock! Pinned!
Thanks Mindi! Finally a real DIY type project again and not just a craft! I am pretty happy with how it came out in the end.
Krista, it looks great! It’s always lovely to have a mantel for a focal point – can’t wait to see what you do for Christmas! xo
Thanks Petra! My favorite Christmas ‘village’ is going up on the mantel, though it is not a village in the traditional miniature sense. Can’t wait to get it out now!
Seriously, this is SO amazing, Krista! WOW! I can’t believe the transformation! Awesome, awesome job!!!
~Abby =)
Thank you Abby:) I had kind of forgotten just how terrible it was to start with because I did the project back in the summer. It is funny to look at the old pictures now!
I don’t even know what to say anymore….you amaze me Krista…..this is awesome!!!!!! xoxoxox
Aw Christine you are too kind. Thanks for your comment- it totally brightened my day:)
I cannot get over what this looked like before!! I never would have given that piece a second thought and you made it gorgeous and completely functional! Love it! And I don’t want to hear any crying about having no fireplace…I’d trade you mine for that spectcular view any day 🙂 XO
LOL Christy- yes I can’t complain too much. A girl can’t have everything:) But one day I would love to do a real one…. after the kitchen gets updated and the siding gets replaced and the house gets an addition???? Yes, perhaps way down the road. This is perfect for the time being and hardly cost a thing.
It’s beautiful! I would love to do something like this for our dining room. Great job Krista!!
Hi Kelly! Ours sit on the wall between the dining room and living room – it is really just one big long room. Not exactly where one might actually have a fireplace but it does the trick:)
I have a mantel but whoever made it sucked at carpentry because the board leans towards the front, making me nervous to put lots of things up there. Some day I will redo it and add some big, beautiful chunky piece of wood on top. But I did give it a new coat of paint….it’s always nice to see how paint can transform a piece and yours is no exception! I love how you added bead board too. So nice!
Thanks Megan. At least you have a real fireplace, but it certainly can be tough to find the time to get around to all those projects on our list, isn’t it? One day!
What a transformation Krista! I love the bead board you added in place of the glass, great job!!
Thanks Mandy. It gives a much calmer and cleaner look with the doors filled in. More like a cabinet then the hutch it was before.
That’s amazing! And no way is that excessive decorating! Keeps things fresh and dusted in my book 😉
Lol- yes dusted! If I didn’t switch things around so often then I might actually have to dust. It is not my strength.
I have to try your chalk paint recipe too. Thanks 🙂 And that faux mantel looks so beautiful!
Thank you Kerstin! So thrilled you came to visit:)
Wow, I love that piece! I’m jealous because I don’t have a mantel either.
Great makeover,
Deb
Thanks Deb! I would love to do a gas insert fireplace one day but the $4-5000 it will end up costing isn’t in the budget for a while (and is waaaay down the line in priorities), so this cabinet should be a good substitute until then.
Krista, I can’t even believe it’s the same piece! What a great job you did transforming this piece, plus thank you for sharing your chalk paint recipe! I just might have to brave up and give this a try (after the holidays!) because goodness knows, I have some not-in-a-good way distressed pieces that are just begging for some love! You are always inspiring! 🙂 Pinning and have a happy Thursday!
It will be hard to find time for big furniture projects before the holidays I am sure Cindy- so much to do and craft right now!! Thanks for the pin:)